What Is a Heating Element and How Does It Work?
A heating element is a component designed to convert electrical energy into heat through electrical resistance. Found in appliances like water heaters, ovens, dryers, stoves, and space heaters, these elements rely on a coiled metal conductor—often made of nichrome—that resists the flow of electricity. As current passes through the resistive material, it generates heat that radiates outward to warm water, air, or food.
Over time, heating elements degrade due to constant thermal cycling, corrosion, mineral buildup, or simple wear. When an element fails, the appliance stops producing heat effectively or stops working altogether. Before replacing an expensive appliance, testing the heating element with a multimeter can quickly reveal whether the element itself is the culprit—saving you both time and money.
Why Use a Multimeter to Test a Heating Element?
A multimeter is the most reliable tool for diagnosing a faulty heating element. It measures electrical resistance (ohms) and continuity, allowing you to determine whether the element can conduct electricity properly. A functioning element will show a specific resistance value, while a broken element displays no continuity or an “open” reading.
Using a multimeter eliminates guesswork. Instead of replacing parts blindly, you get a definitive answer about the element’s condition. This precision makes the multimeter indispensable for DIY repairs and professional troubleshooting alike.
Safety Precautions Before You Begin
Working with electrical appliances demands caution. Follow these essential safety steps before testing:
- Disconnect power completely. Unplug the appliance or shut off the corresponding circuit breaker. Never test a heating element while it’s connected to a live power source.
- Allow the element to cool. Heating elements retain heat long after use. Wait until the unit is completely cool to avoid burns.
- Discharge stored electricity. For appliances with capacitors, allow time for residual charge to dissipate.
- Wear protective gear. Insulated gloves and safety glasses provide added protection.
- Work in a dry environment. Moisture increases the risk of electric shock, so ensure your workspace is dry.
Tools and Materials You’ll Need
Gather these items before starting:
- A digital or analog multimeter
- A screwdriver (Phillips or flathead, depending on your appliance)
- Safety gloves and glasses
- The appliance’s user manual or specifications sheet
- A flashlight for visibility in tight spaces
Step-by-Step Guide to Testing a Heating Element
Step 1: Access the Heating Element
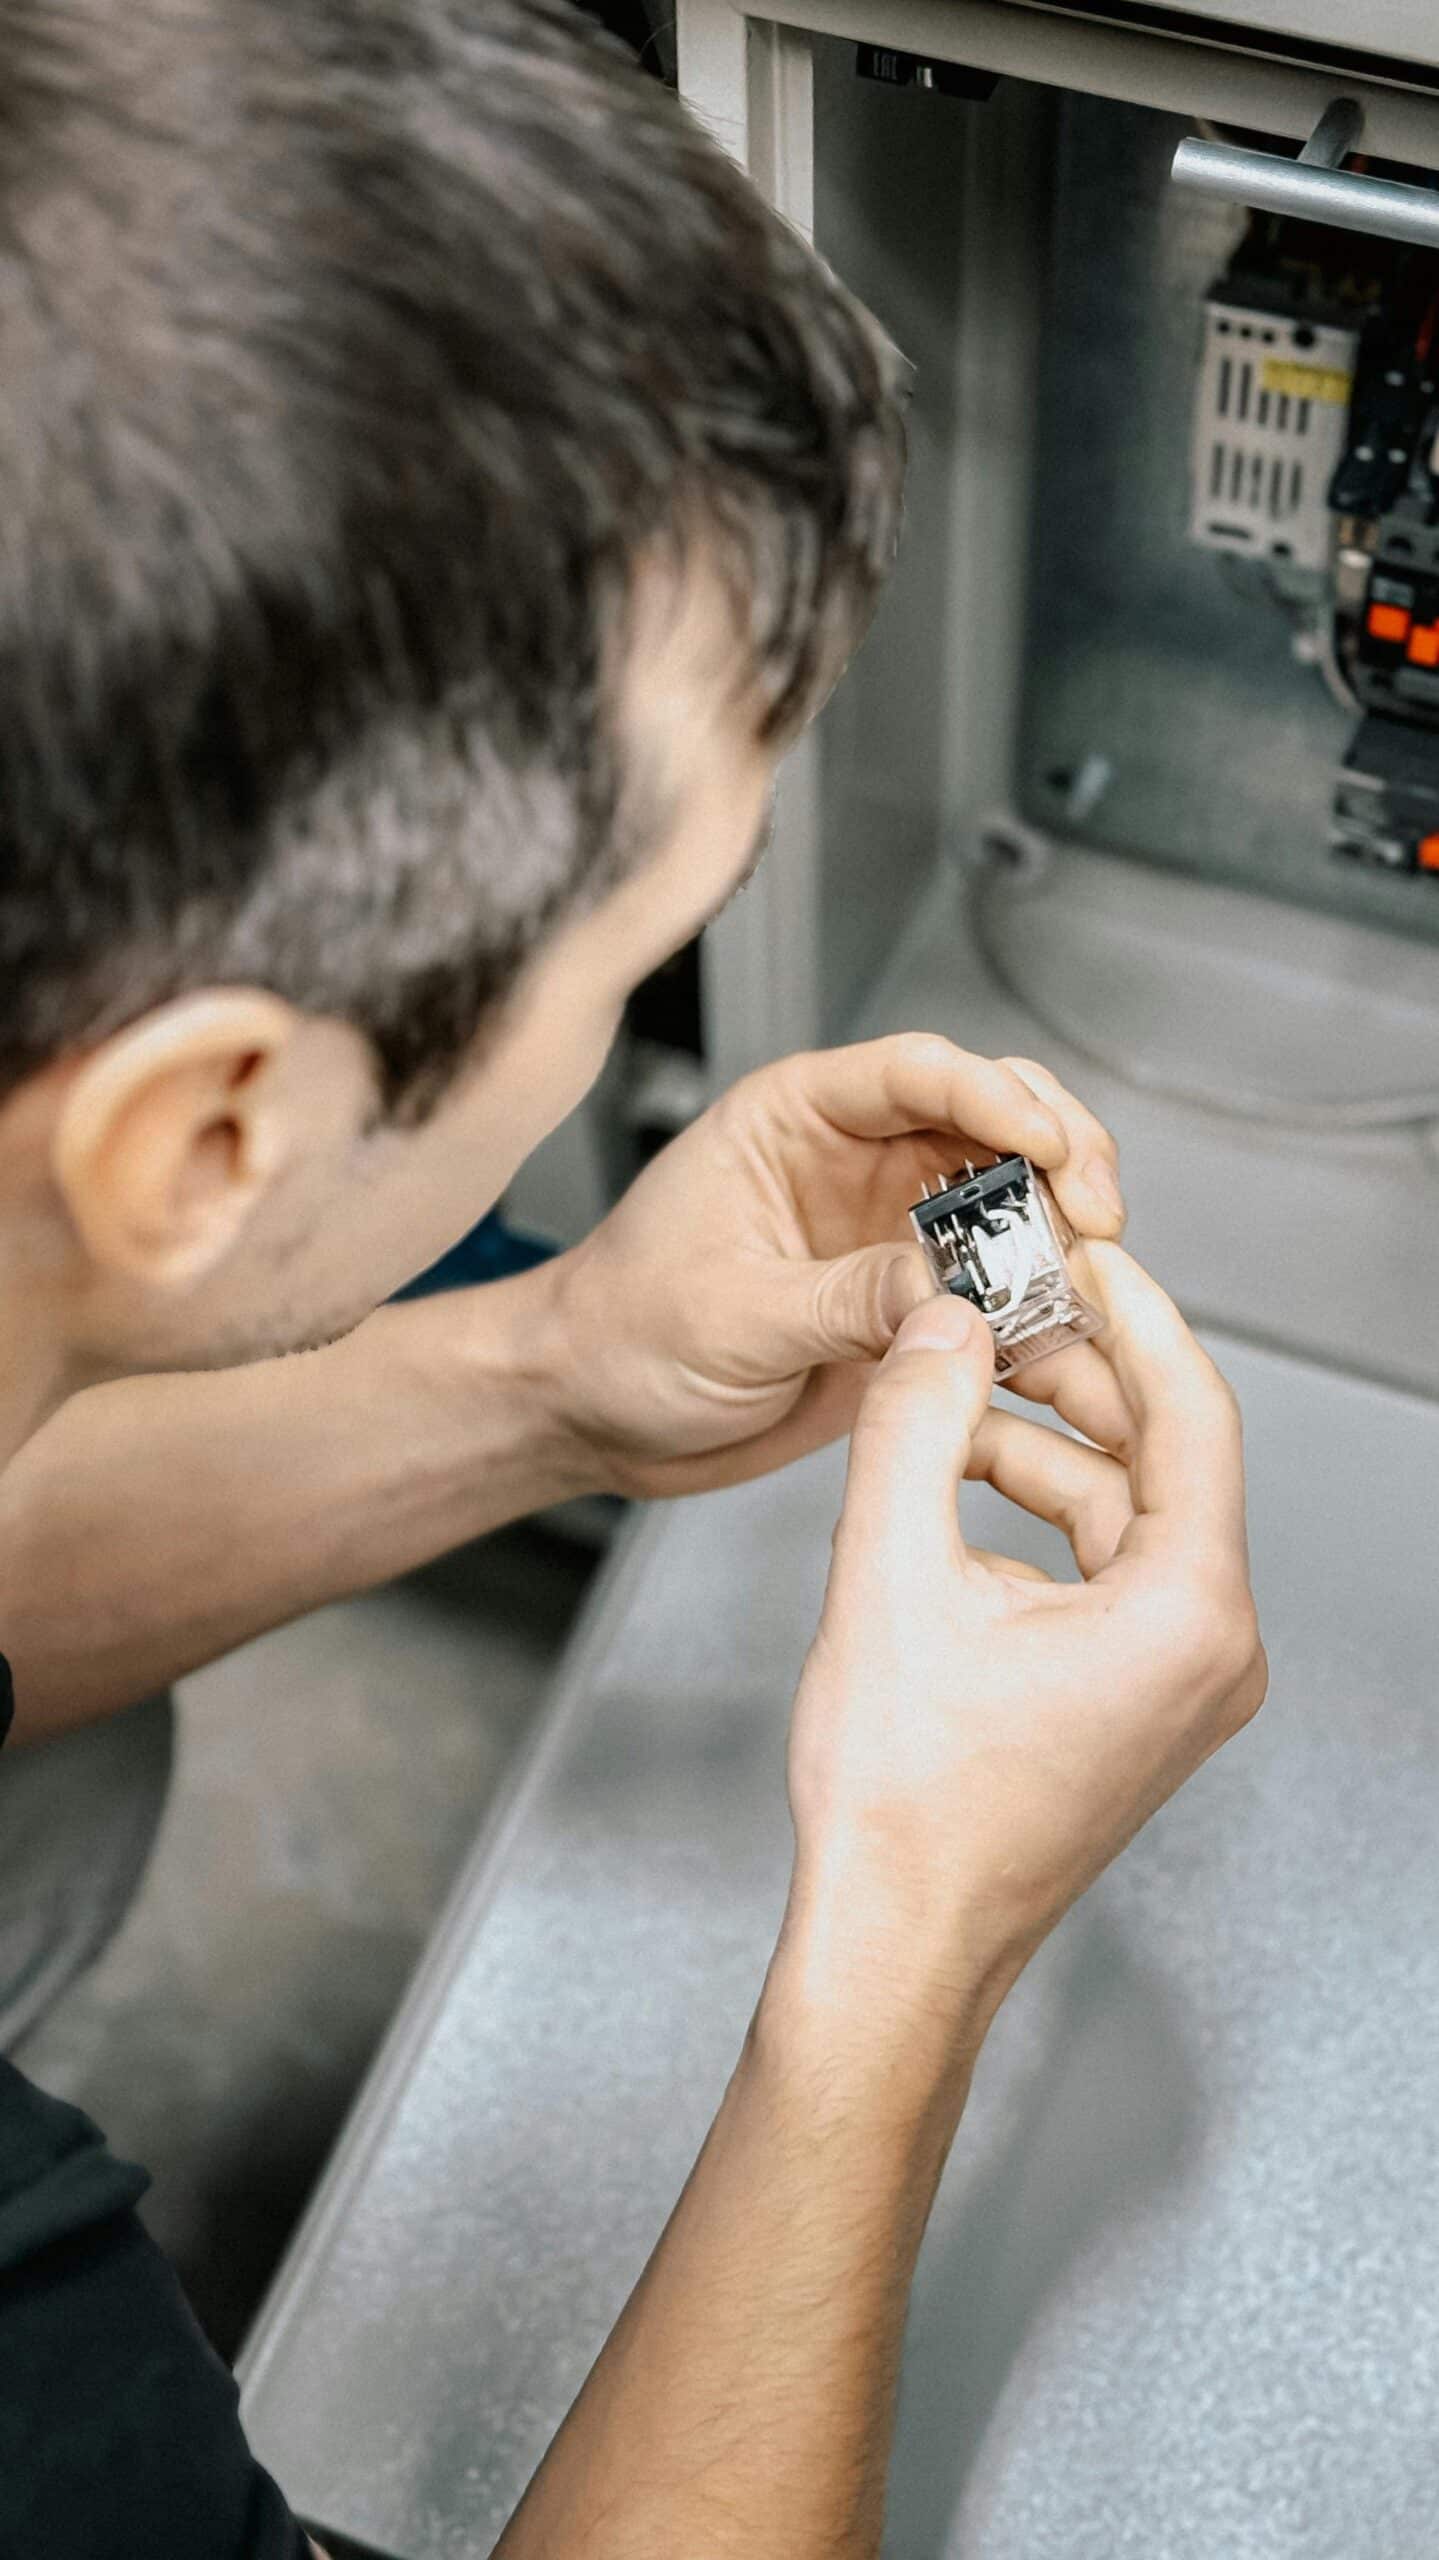
Locate and access the heating element. Depending on the appliance, you may need to remove an access panel, back cover, or housing. For a water heater, this means removing the metal cover plate and insulation. For an oven, the element is often visible inside the cooking chamber. Use your screwdriver to remove any fasteners, and keep track of all screws.
Step 2: Disconnect the Wires
Once you can see the element, disconnect the wires attached to its terminals. Take a photo first so you can reconnect them correctly later. Removing the wires ensures you test only the element itself and not the surrounding circuitry, which could produce inaccurate readings.
Step 3: Set Your Multimeter to Ohms
Turn your multimeter dial to the resistance setting, indicated by the ohm symbol (Ω). If your multimeter is not auto-ranging, select a low range, such as 200 ohms, since most heating elements have relatively low resistance values. Digital multimeters display readings clearly, making them ideal for beginners.
Step 4: Calibrate the Multimeter
To verify your multimeter works correctly, touch the two probes together. The reading should drop to zero or near zero ohms, confirming proper function and continuity within the meter. If it doesn’t, check the batteries or probe connections before proceeding.
Step 5: Test the Heating Element
Place one probe on each of the element’s terminals. The order of the probes does not matter for resistance testing. Observe the reading on the display:
- A normal reading typically falls between 10 and 30 ohms, though this varies by appliance. Consult your manual for the manufacturer’s specified resistance value.
- A reading of zero ohms suggests a short circuit within the element.
- A reading of infinity (OL or “open line”) indicates a broken element with no continuity, meaning it needs replacement.
Step 6: Test for a Ground Fault
Beyond checking resistance, you should test whether the element is shorting to ground. Keep one probe on a terminal and touch the other probe to the metal body or sheath of the element. A properly functioning element shows infinite resistance here. If you get any resistance reading, the element is grounded and must be replaced, as it poses a safety hazard.
Interpreting Your Results
Understanding the numbers is crucial for an accurate diagnosis:
- Correct resistance value: The element is functioning properly. If your appliance still doesn’t heat, the problem lies elsewhere—perhaps in the thermostat, control board, or wiring.
- No continuity (OL reading): The element’s internal wire has burned out or broken. Replacement is necessary.
- Grounded element: A short to the metal casing means the element is unsafe and faulty.
You can calculate the expected resistance using Ohm’s Law if you know the wattage and voltage. The formula is R = V² / W, where R is resistance, V is voltage, and W is wattage. For example, a 4,500-watt element on a 240-volt circuit should read approximately 12.8 ohms.
Common Mistakes to Avoid
Even simple tests can go wrong. Watch out for these pitfalls:
- Testing with power connected. This is dangerous and yields false readings. Always disconnect power.
- Forgetting to remove wires. Connected wiring can create parallel circuits that distort resistance values.
- Using the wrong multimeter setting. Make sure you’re on the ohms setting, not voltage or current.
- Touching the probes with bare fingers. Your body’s resistance can affect readings on sensitive measurements.
- Ignoring manufacturer specifications. Each appliance has unique resistance values, so always reference the manual.
When to Replace the Heating Element
If your test reveals an open circuit or a ground fault, replacement is the only solution. Heating elements cannot be repaired once the internal resistive wire breaks. When purchasing a replacement, match the wattage, voltage, and physical dimensions to your original element. Installing an incompatible element can damage your appliance or create safety risks.
Tips for Accurate Testing
To ensure reliable results every time:
- Clean the terminals before testing, as corrosion or buildup can interfere with readings.
- Test multiple times to confirm consistency.
- Use fresh batteries in your multimeter for precise measurements.
- Record your findings to compare against manufacturer specifications.
- Inspect visually for obvious signs of damage such as cracks, blistering, or burn marks, which often accompany electrical failure.
Troubleshooting Beyond the Element
If the heating element tests fine but your appliance still won’t heat, investigate other components. Thermostats regulate temperature and can fail, cutting power to a functioning element. Control boards, timers, and high-limit switches may also be responsible. Inspecting the power supply and wiring connections can reveal loose or corroded contacts that prevent proper operation. A systematic approach—testing each component in turn—helps pinpoint the exact cause of failure.
Mastering the use of a multimeter empowers you to diagnose heating element problems confidently and safely. With practice, this skill becomes a valuable part of your home maintenance toolkit, helping you extend the life of your appliances and avoid unnecessary repair costs.