Understanding Why Your Toaster Oven Stops Heating
A toaster oven that won’t heat is one of the most common kitchen appliance failures, and the good news is that many causes are fixable at home. Heating problems typically stem from faulty heating elements, damaged power cords, broken thermostats, malfunctioning thermal fuses, or worn-out switches. Before assuming your appliance is beyond repair, working through a systematic troubleshooting process can save you the cost of a replacement and reduce unnecessary electronic waste.
Understanding the internal components of your toaster oven helps you diagnose the issue accurately. Most units rely on metal heating elements (often called quartz or nichrome elements), a thermostat to regulate temperature, a timer, and various electrical connections that route power throughout the device.
Safety Precautions Before You Begin
Electrical appliances carry serious shock hazards, so safety must come first. Always unplug your toaster oven and allow it to cool completely before inspecting any components. Never work on the unit while it’s connected to a power source.
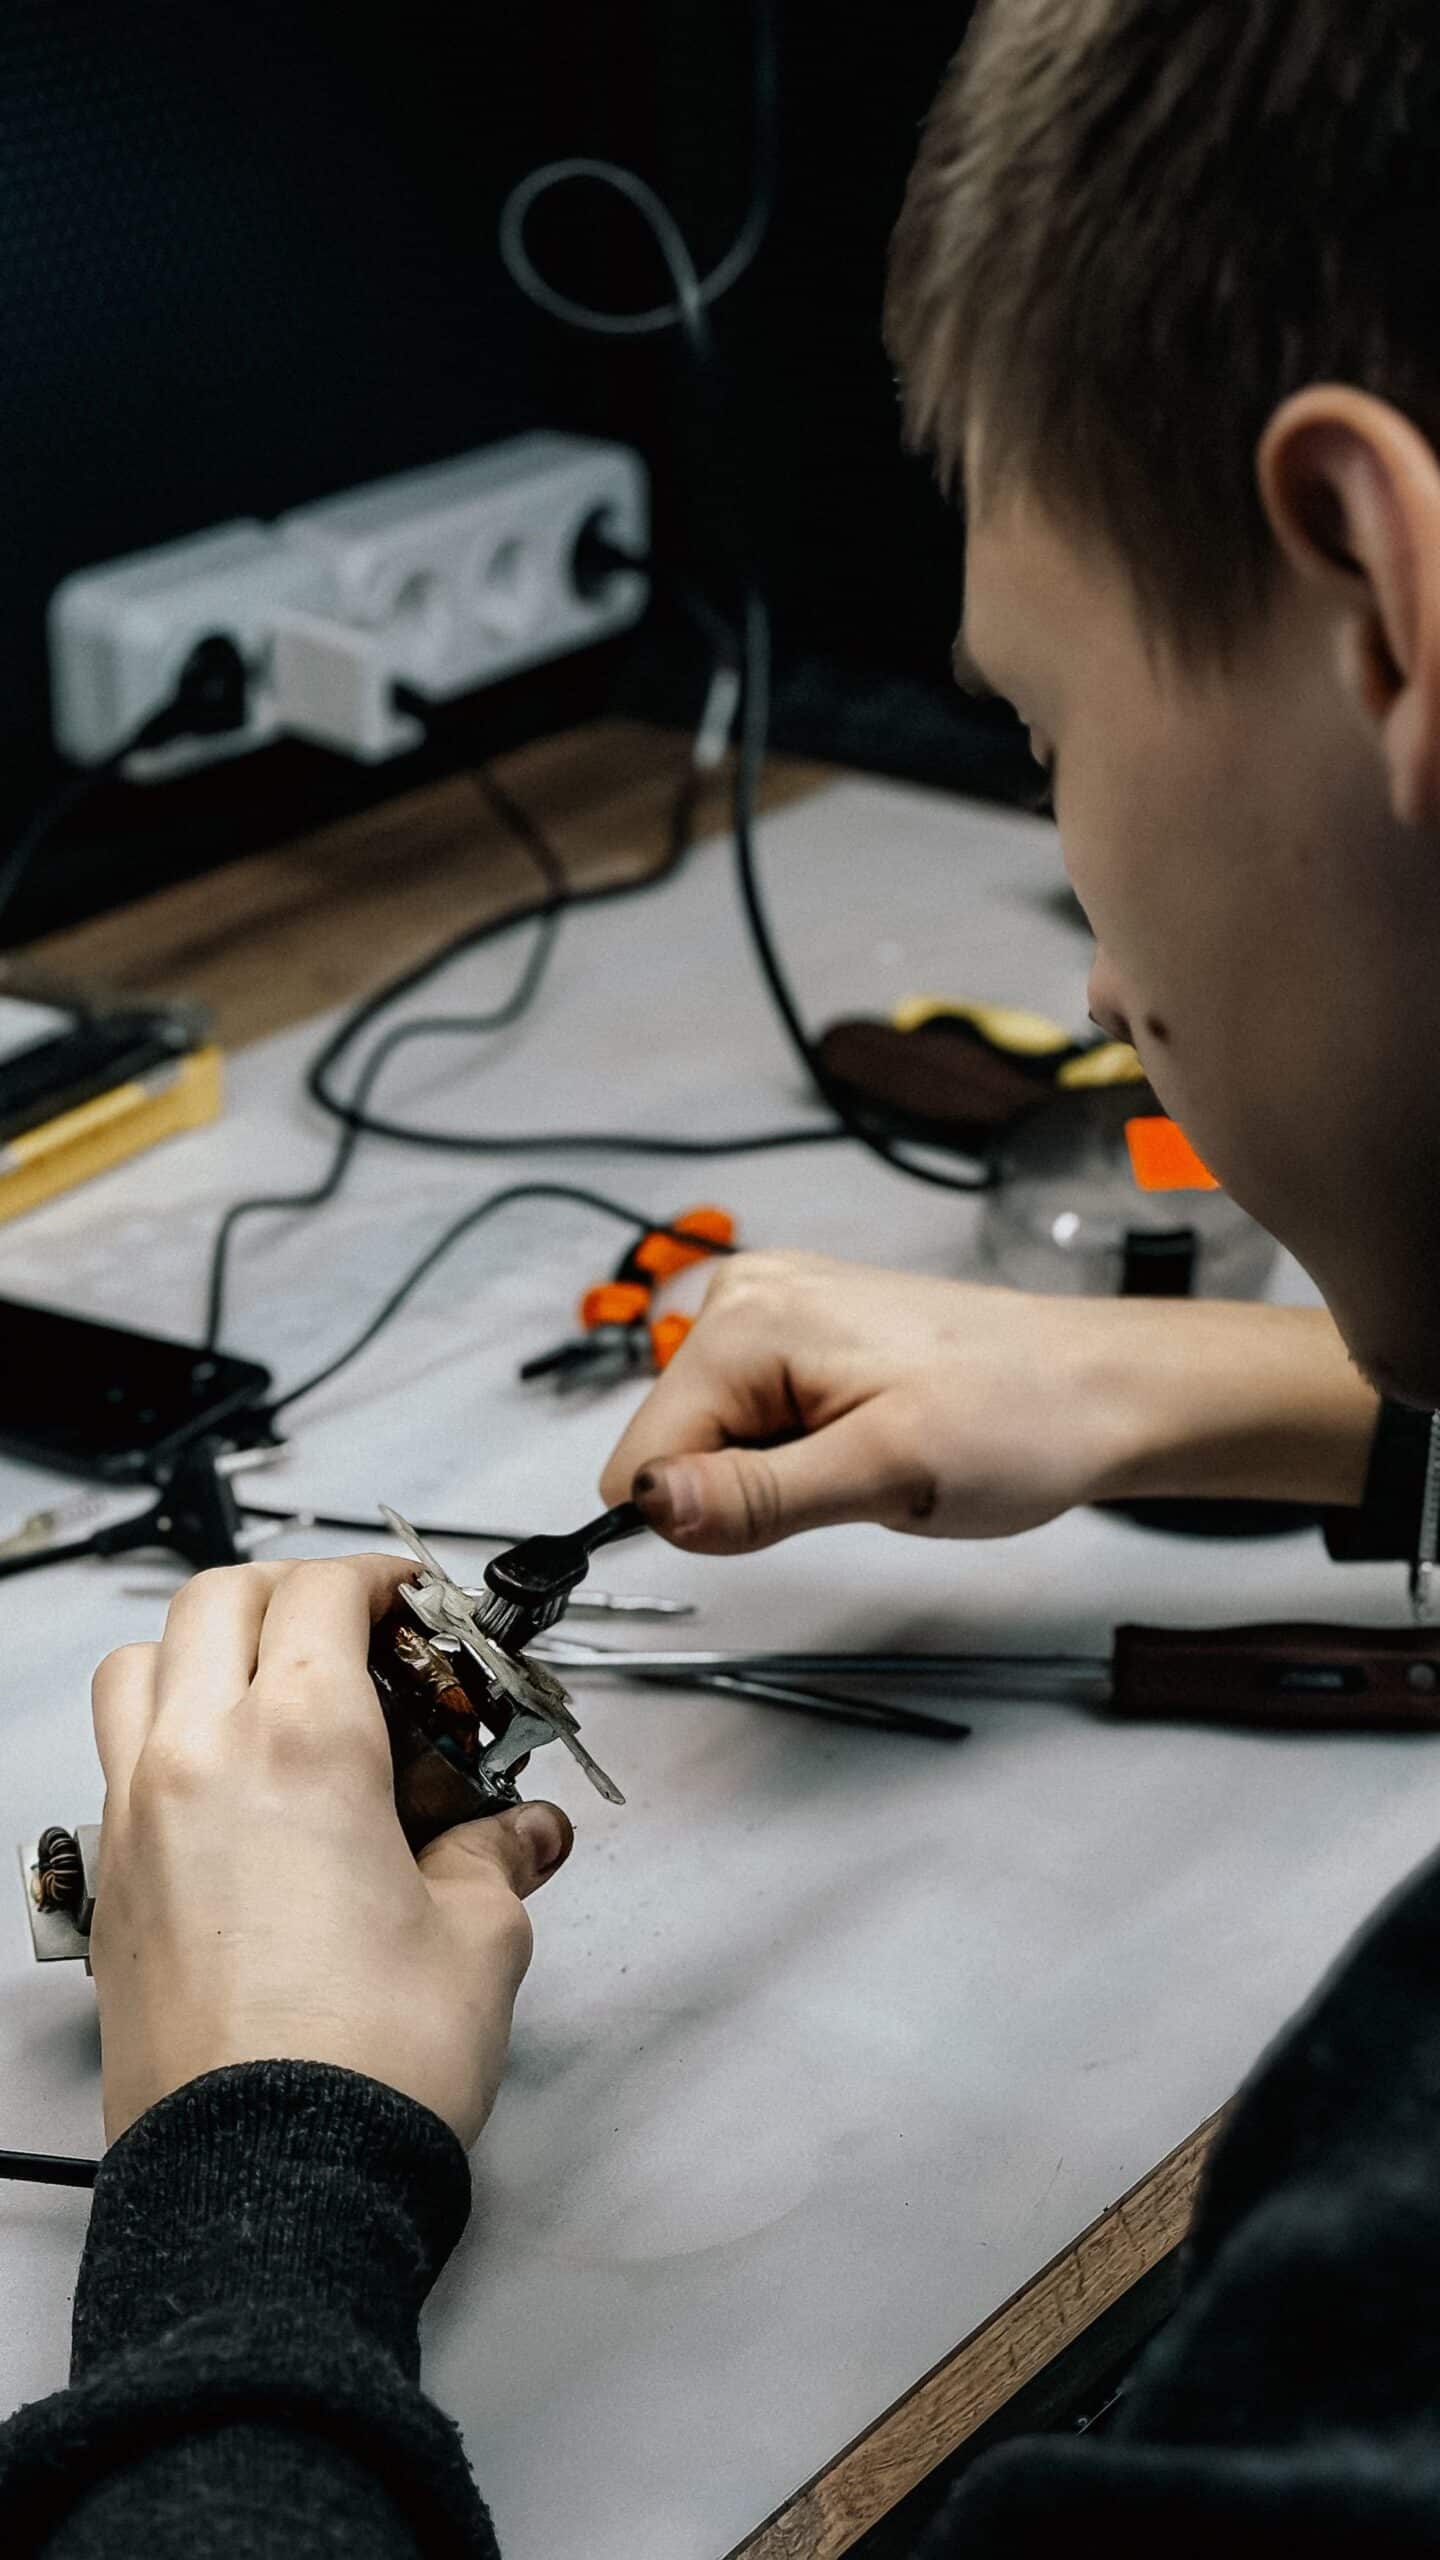
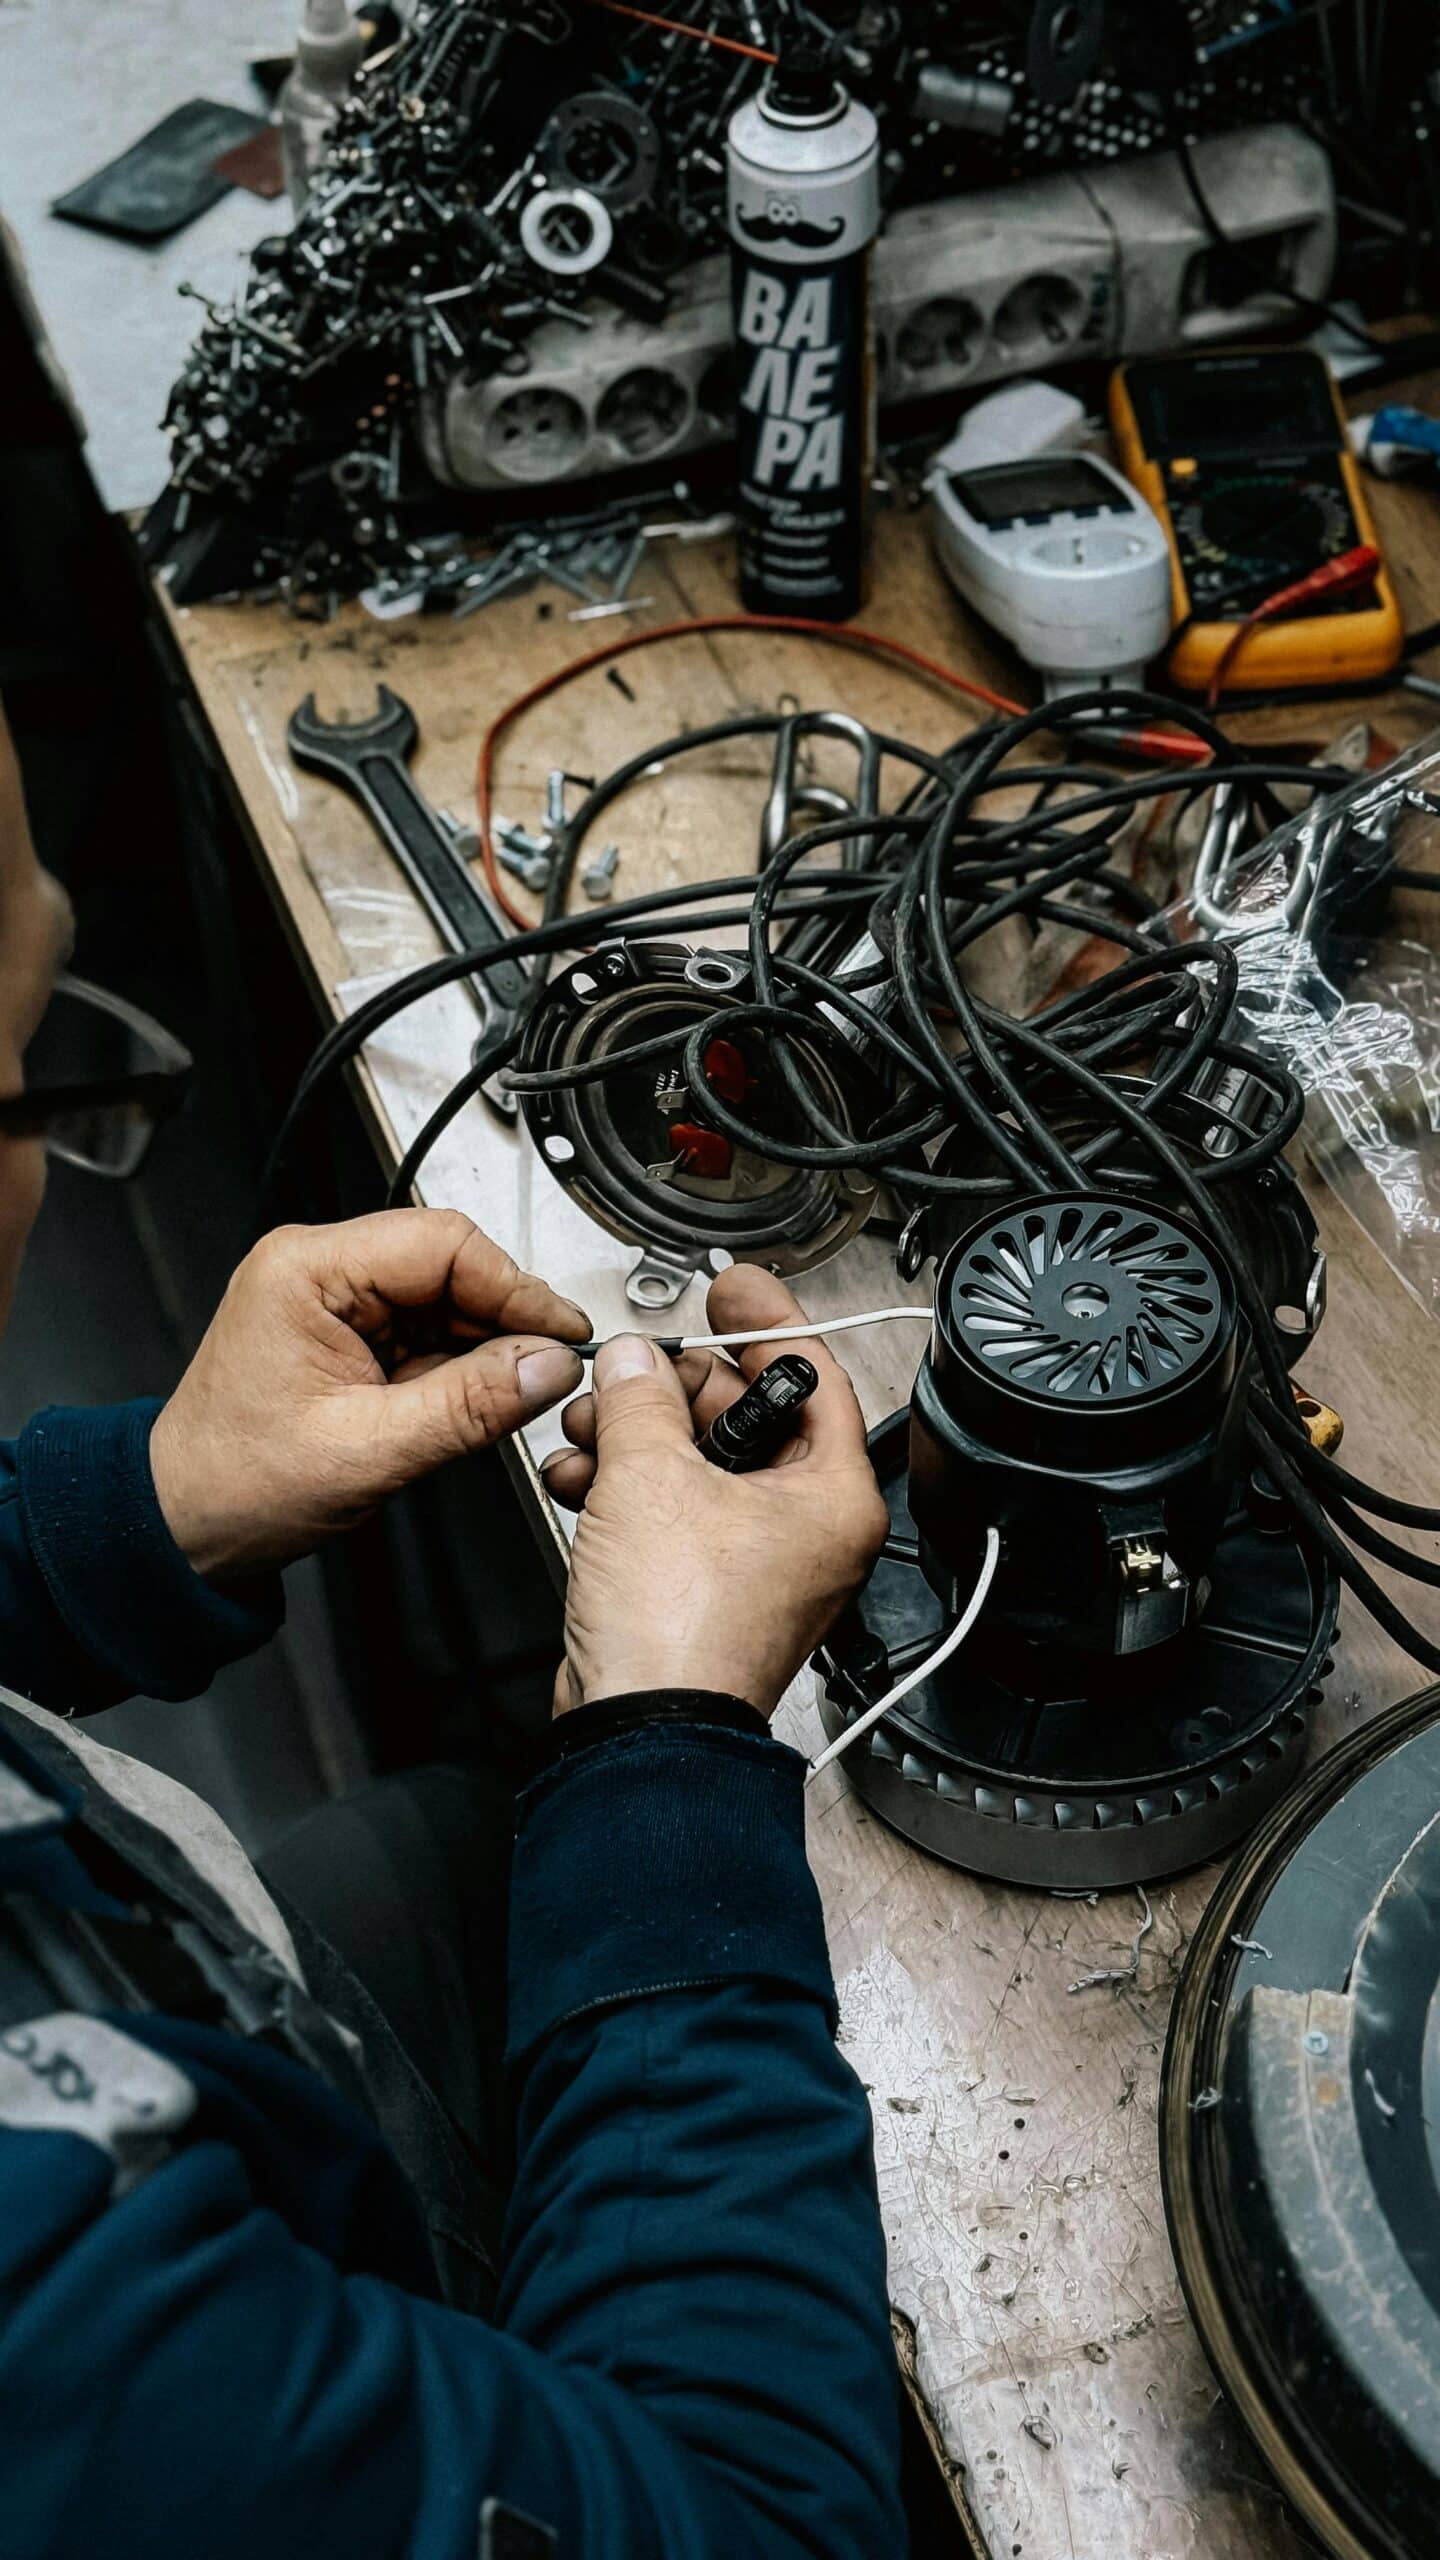
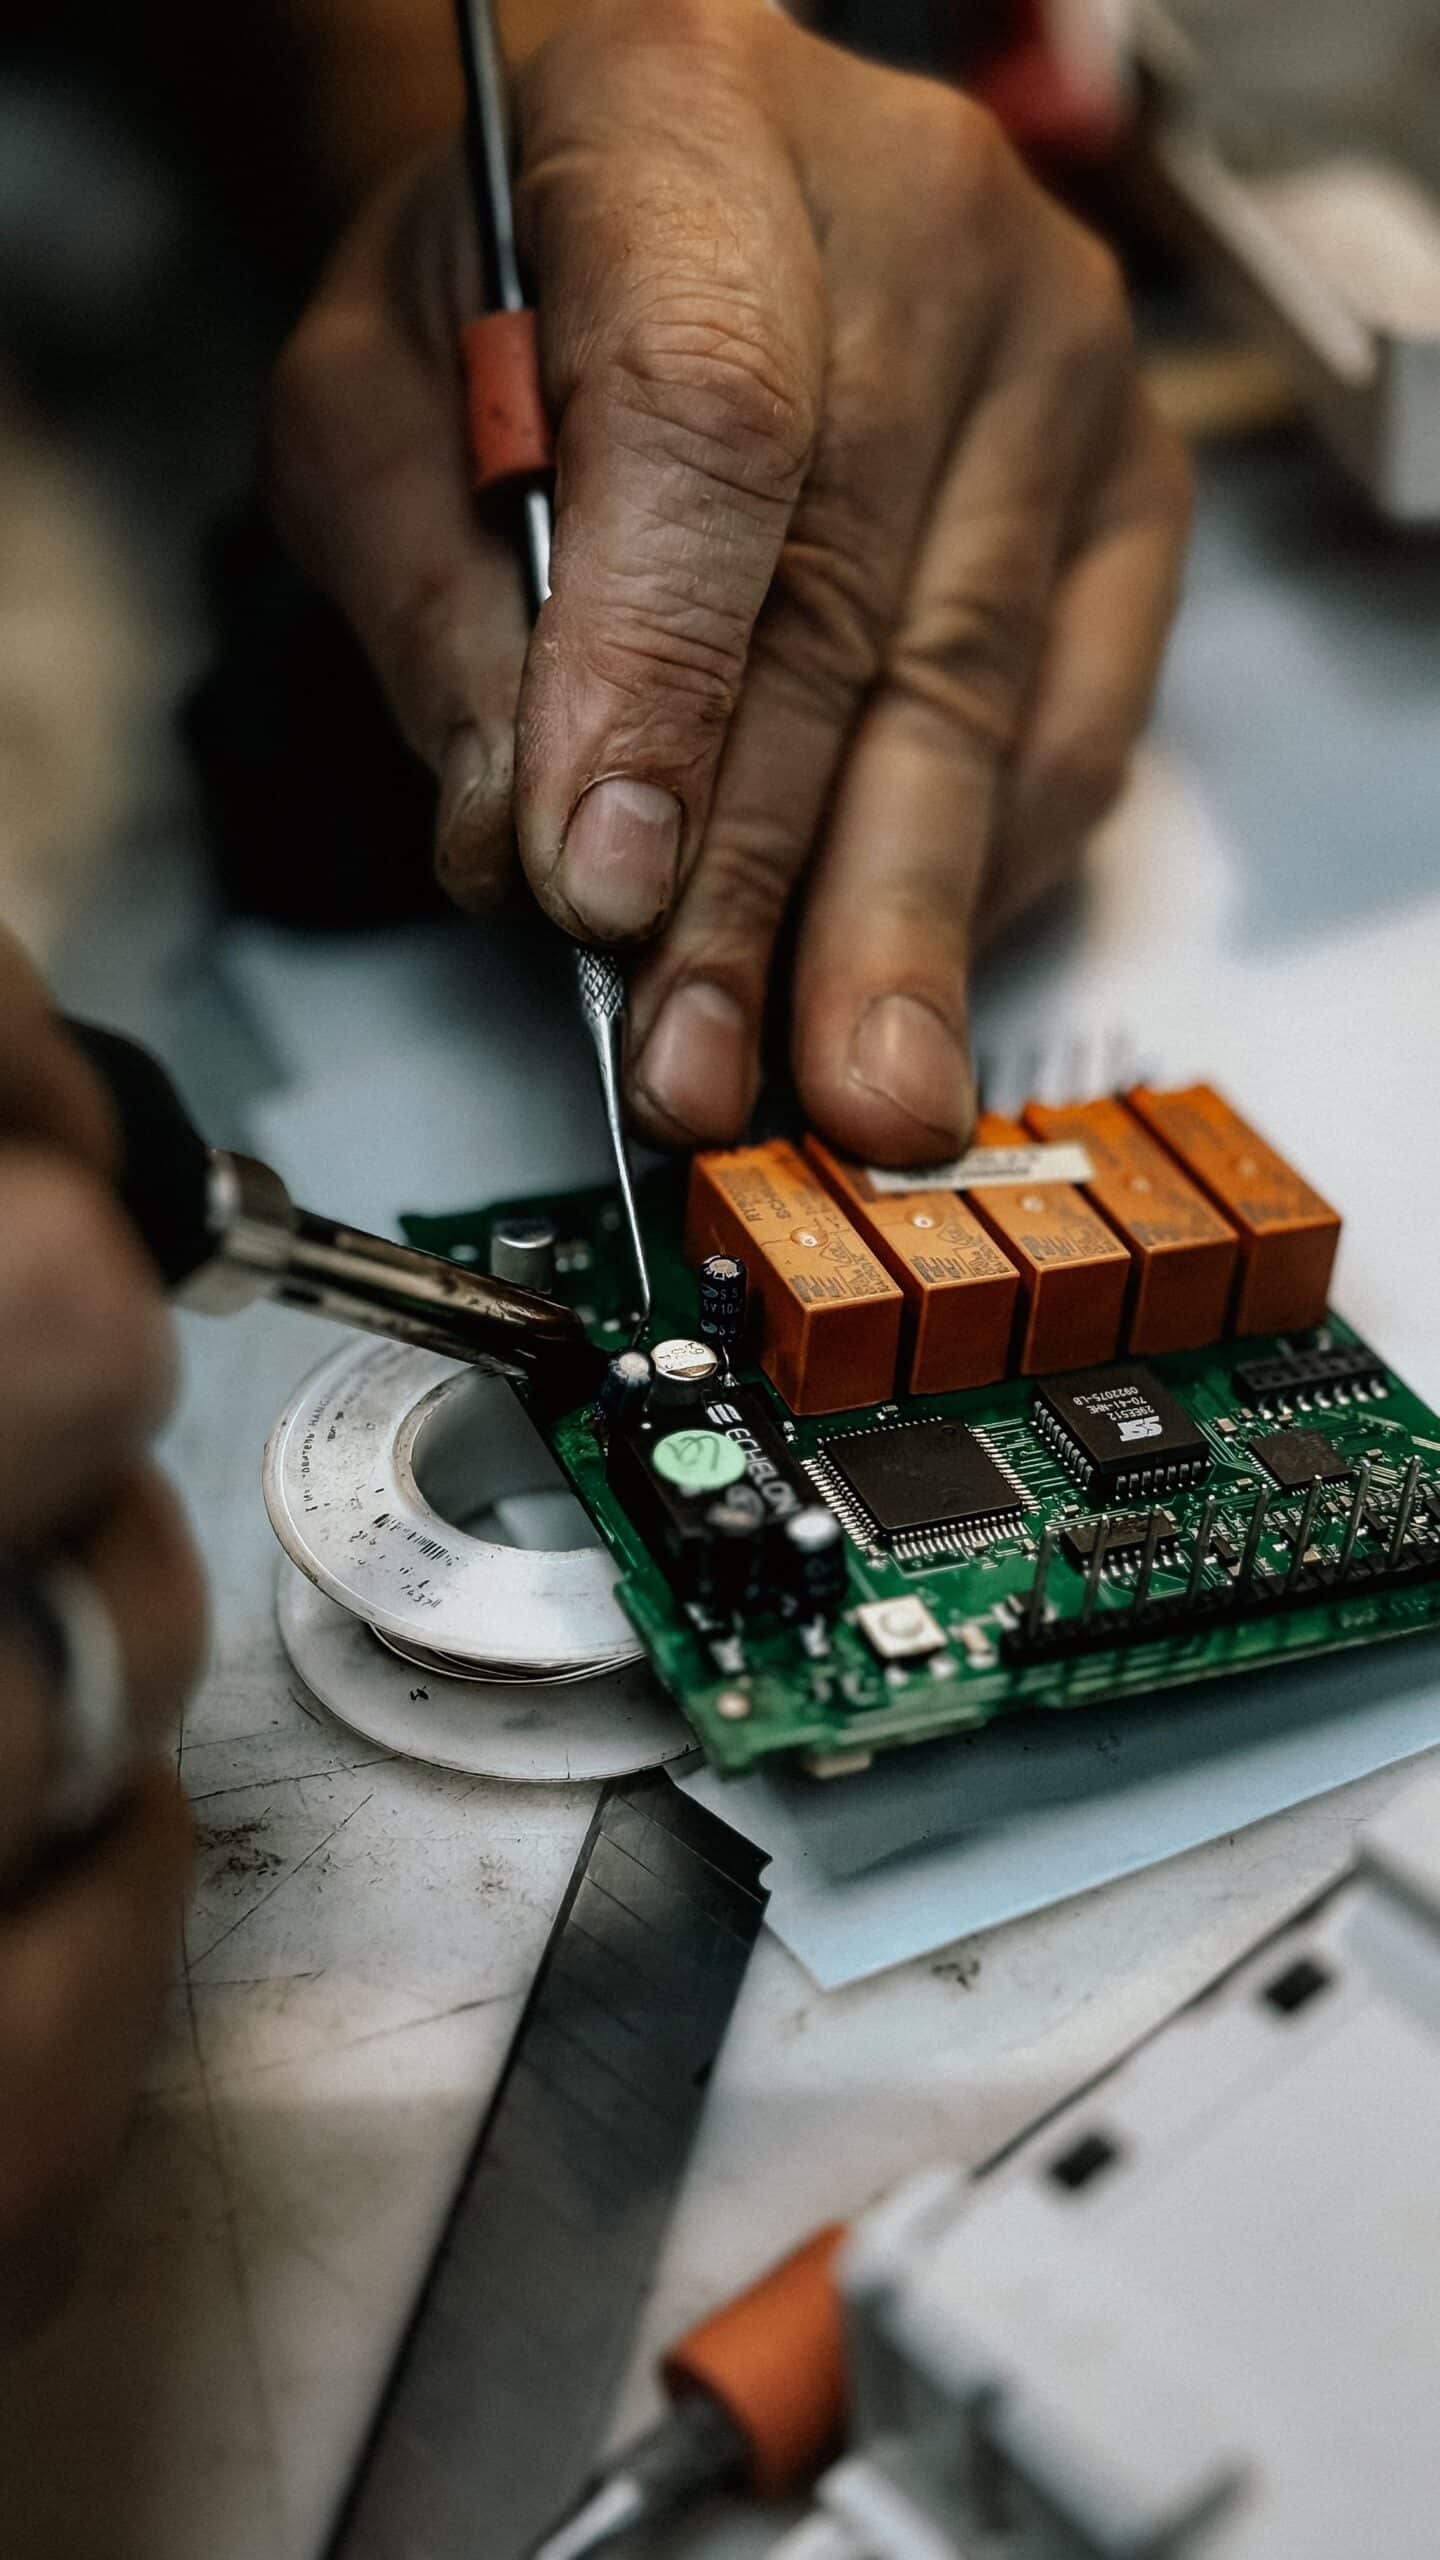
Gather essential tools, including a Phillips and flathead screwdriver, a multimeter for testing continuity, needle-nose pliers, and a soft cloth for cleaning. Work in a well-lit area on a flat surface. If you notice burnt smells, melted plastic, or exposed wiring, exercise extra caution and consider whether repair is safe or if replacement is the wiser choice.
Step 1: Inspect the Power Source and Cord
Begin with the simplest potential problems. Plug another appliance into the same outlet to confirm it’s delivering power. Test multiple outlets, as a tripped circuit breaker or faulty receptacle is sometimes the culprit rather than the toaster oven itself.
Next, examine the power cord closely for fraying, cuts, kinks, or burn marks. A damaged cord can interrupt power flow and pose a fire hazard. Use your multimeter to test the cord for continuity. Set the meter to the continuity or ohms setting, then touch the probes to each end of the cord wire. No reading indicates a broken cord that needs replacement.
Step 2: Test the Heating Elements
The heating elements are the most likely cause of a no-heat issue. These are the metal rods that glow red when functioning properly. With the unit unplugged, visually inspect the elements for breaks, blistering, or burn spots. A broken element often shows a visible gap or discoloration.
To test electrically, locate the element terminals, usually accessible after removing the outer casing. Set your multimeter to measure resistance, then place a probe on each terminal of the element. A working element typically reads between 10 and 50 ohms. A reading of infinity or “OL” confirms the element is dead and requires replacement.
Most toaster ovens have both upper and lower elements. If only one fails, you may experience uneven heating rather than complete failure, so test each separately.
Step 3: Check the Thermal Fuse
A thermal fuse is a safety device that cuts power if the unit overheats. When it blows, the toaster oven loses power or stops heating entirely. Locate the thermal fuse, typically a small cylindrical component near the heating elements or power input.
Test it with your multimeter set to continuity. A functioning fuse shows continuity, while a blown fuse shows none. Thermal fuses are inexpensive and relatively easy to replace, but you must use an identical replacement rated for the same temperature and amperage. Simply bypassing a thermal fuse is dangerous and defeats a critical safety feature.
Step 4: Examine the Thermostat and Temperature Controls
The thermostat regulates heat by switching the elements on and off. A faulty thermostat may prevent the elements from receiving power at all. Access the thermostat behind the control panel, usually secured with screws.
Turn the temperature dial while testing the thermostat terminals with your multimeter. You should see continuity change as you adjust the setting. If there’s no continuity in any position, the thermostat is defective and needs replacing. Look for corrosion, burnt contacts, or loose connections that might also interfere with operation.
Step 5: Inspect Switches and Internal Wiring
The timer switch and function selector control which elements activate. A worn switch can fail to complete the circuit. Test these components for continuity in their “on” positions. Replace any switch that fails to conduct electricity.
Carefully trace the internal wiring for loose, corroded, or disconnected terminals. Vibration and heat over time can loosen spade connectors. Reconnect any loose wires and clean corroded contacts with fine sandpaper or electrical contact cleaner. Damaged wires should be replaced with appropriately rated, heat-resistant wire.
Step 6: Reassemble and Test
Once you’ve identified and replaced faulty components, reassemble the toaster oven carefully. Ensure all screws are tightened, wires are securely connected, and the casing fits properly. Double-check that no tools or debris remain inside.
Plug the unit into a working outlet and set it to a moderate temperature. Watch the heating elements to confirm they glow evenly and warm up within a reasonable time. Monitor for any unusual smells, sparks, or sounds during the initial test run.
Common Replacement Parts and Where to Find Them
Replacement parts such as heating elements, thermal fuses, thermostats, and power cords are available through appliance parts retailers, manufacturer websites, and online marketplaces. Always note your toaster oven’s model number, usually printed on the bottom or back of the unit, to ensure compatibility.
Generic parts may work, but matching original specifications guarantees proper performance and safety. Compare prices, since some repairs cost only a few dollars in parts, making them far more economical than buying a new appliance.
When to Replace Instead of Repair
Sometimes repair isn’t worthwhile. If your toaster oven is old, the repair costs approach the price of a new unit, or multiple components have failed simultaneously, replacement may be the smarter option. Severe internal damage, melted housing, or persistent electrical faults also signal it’s time to retire the appliance.
Consider the appliance’s age and warranty status. Units still under warranty should be serviced by the manufacturer rather than opened, as DIY repairs typically void coverage.
Preventive Maintenance Tips
Extend your toaster oven’s lifespan with regular maintenance. Clean crumbs and grease buildup frequently, as accumulated debris can interfere with heating elements and create fire risks. Wipe the interior with a damp cloth after it cools, and empty the crumb tray weekly.
Avoid slamming the door, which can damage internal switches and connections over time. Don’t overload the unit or block ventilation openings. Using the correct temperature settings rather than always running on maximum heat reduces strain on the elements and thermostat.
Troubleshooting Quick Reference
If your toaster oven heats intermittently, suspect loose wiring or a failing thermostat. If it powers on but produces no heat, focus on the heating elements and thermal fuse. If nothing turns on at all, start with the power cord and outlet. Uneven cooking usually points to one failed element among multiple.
By methodically testing each component, you can pinpoint the exact failure and restore your appliance to working order. Most repairs require only basic tools and modest technical skill, making this a rewarding project for budget-conscious homeowners who prefer fixing over replacing.