Understanding What a Fuse Does
A fuse is a critical safety device designed to protect electrical circuits from damage caused by excessive current. When current exceeds a safe level—often due to a short circuit or overload—the metal element inside the fuse melts, breaking the circuit and preventing fires, equipment damage, or electrical shock. Because fuses sacrifice themselves to protect your system, replacing them with the correct type and rating is essential. Installing the wrong fuse can lead to recurring failures or, worse, dangerous overheating.
Why Choosing the Correct Fuse Matters
Selecting the right replacement fuse isn’t just about restoring power—it’s about maintaining the safety integrity of the entire circuit. A fuse rated too low will blow repeatedly, interrupting normal operation. A fuse rated too high may fail to trip during a fault, allowing dangerous current levels to flow and potentially damaging wiring, appliances, or causing a fire hazard. Matching the original specifications ensures the fuse performs exactly as the manufacturer intended.
Step 1: Prioritize Safety Before You Begin
Before handling any fuse, disconnect the power source. For household electrical panels, switch off the main breaker. For automotive fuses, turn off the ignition and remove the key. For electronic devices, unplug them entirely. Always work in a dry environment and use insulated tools when possible. Never attempt to inspect or replace a fuse while a circuit is energized, as this risks severe electrical shock.
Step 2: Locate and Remove the Blown Fuse
Identify the fuse box or fuse holder relevant to your device. In homes, this may be an older fuse panel; in vehicles, it’s typically under the dashboard or hood; in electronics, fuses are often housed near the power input. Carefully remove the suspected fuse using a fuse puller or needle-nose pliers. Avoid touching metal contacts with bare hands.
Step 3: Confirm the Fuse Is Actually Blown
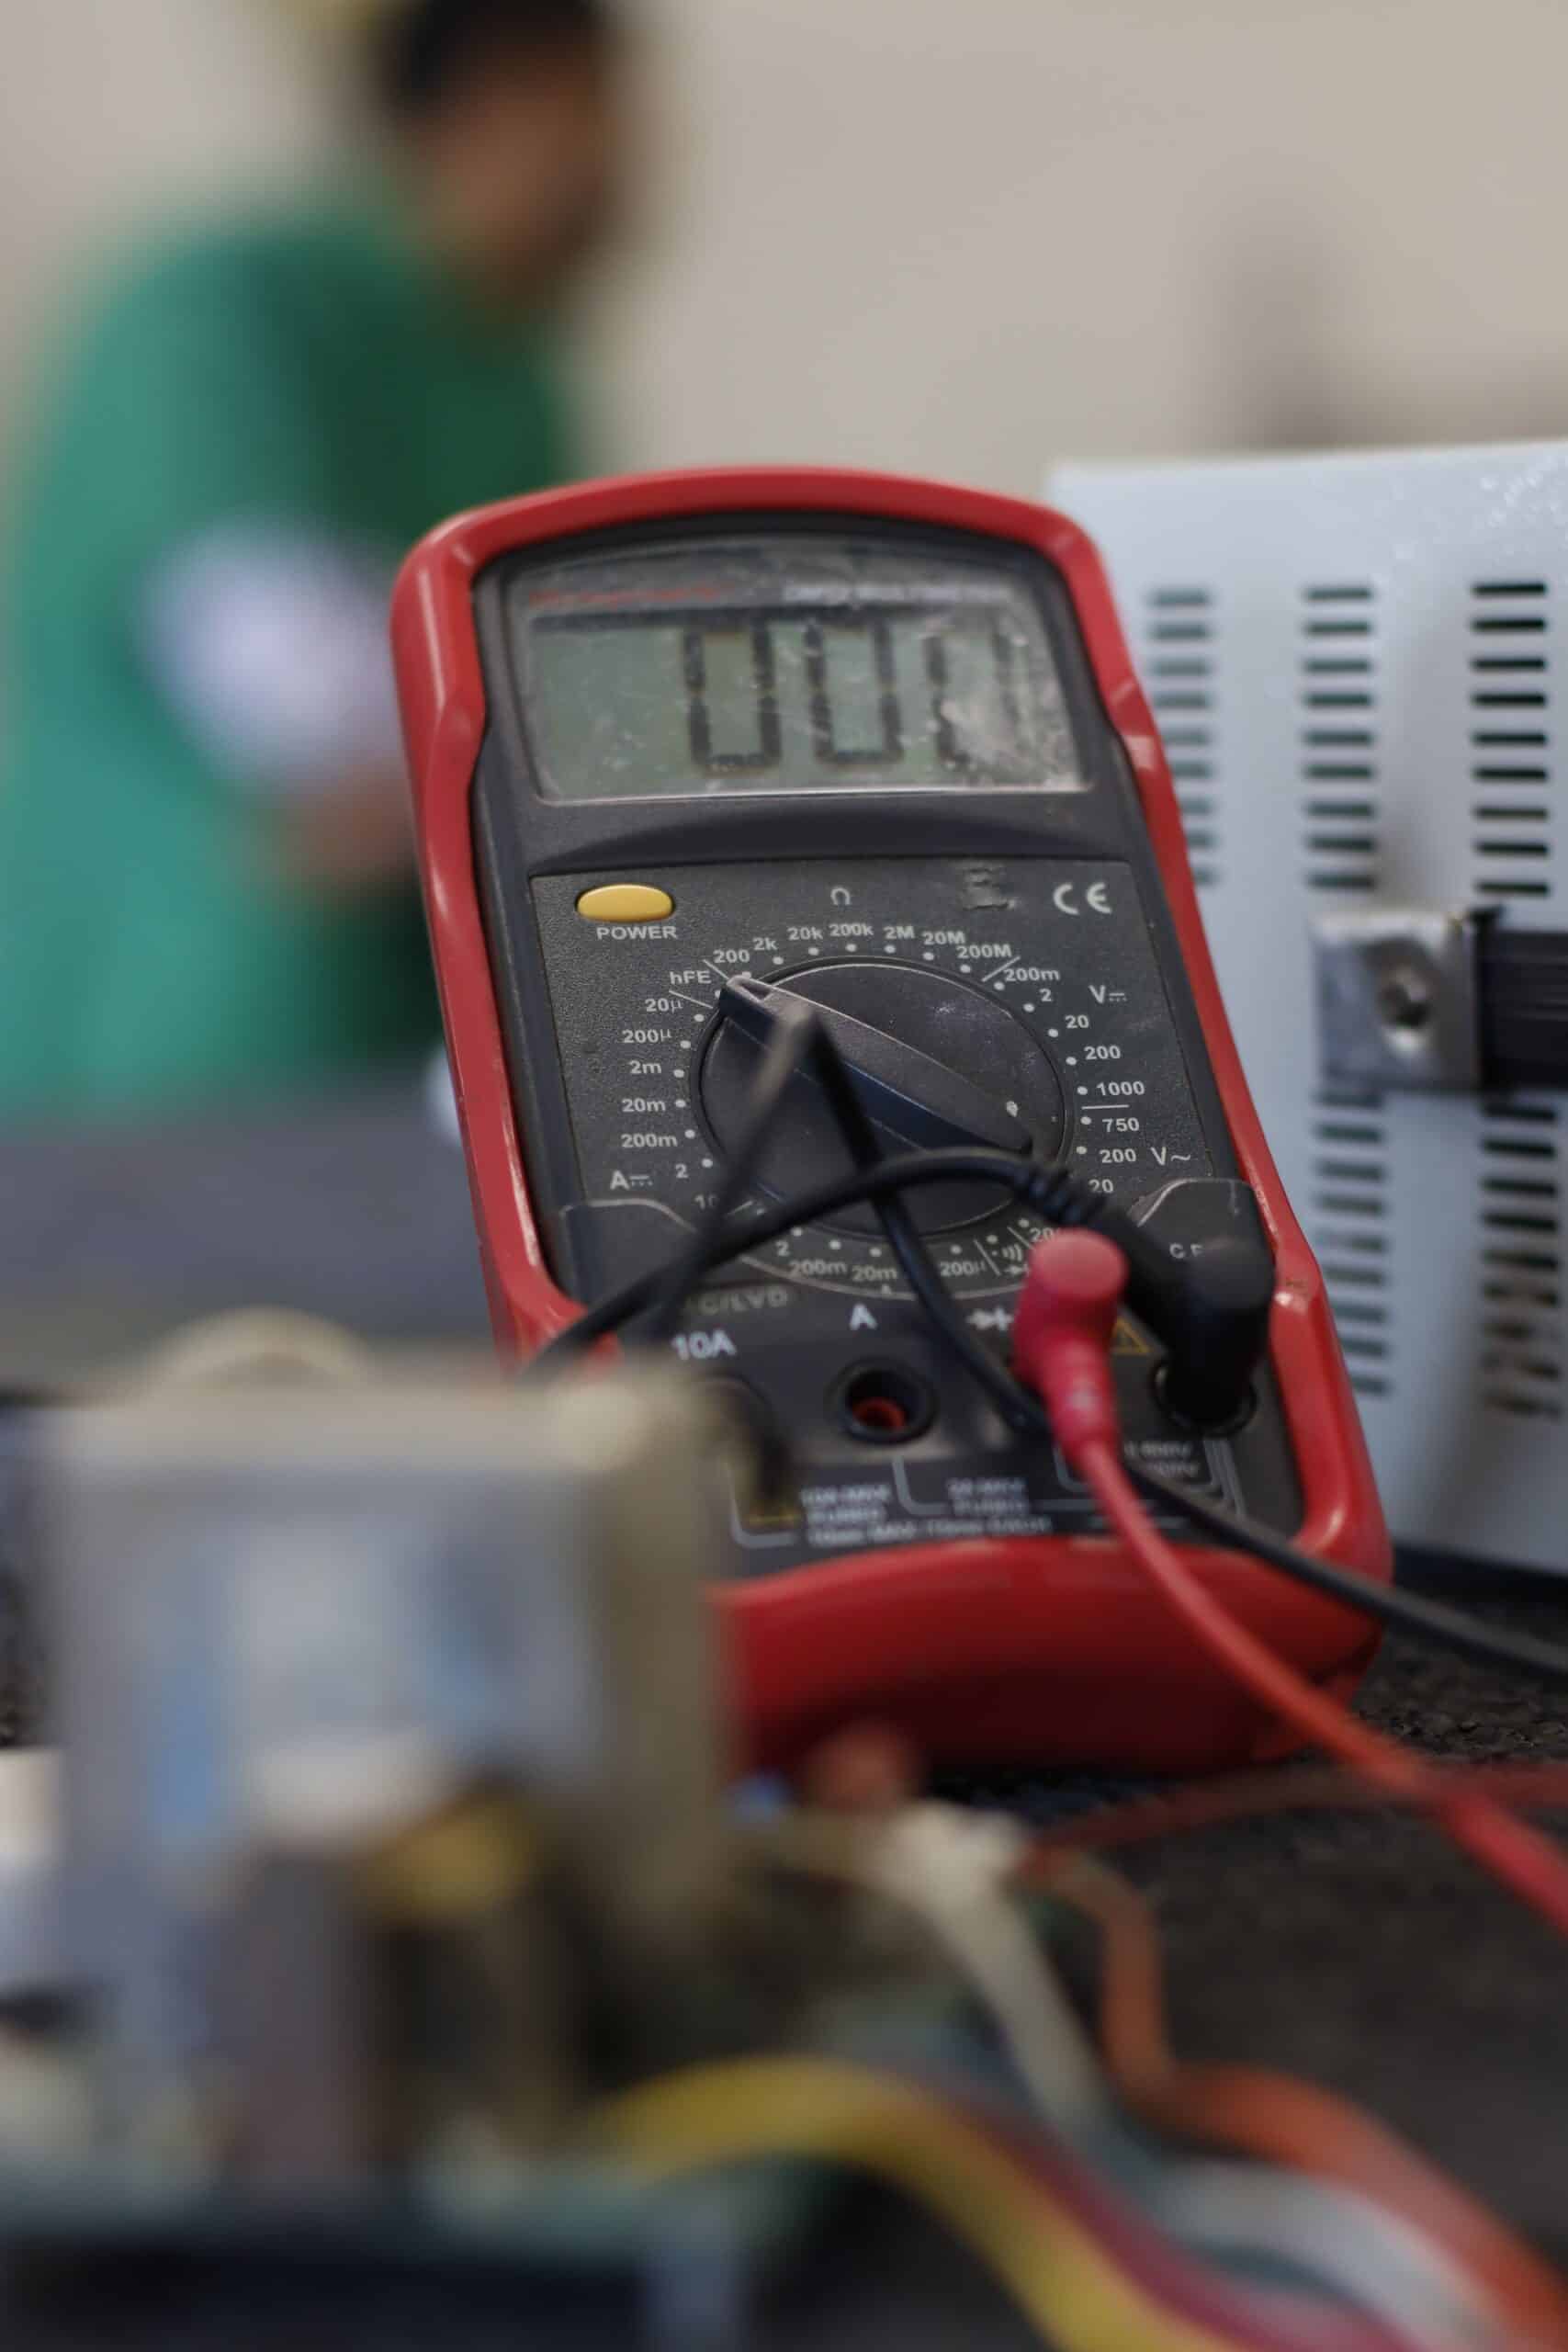
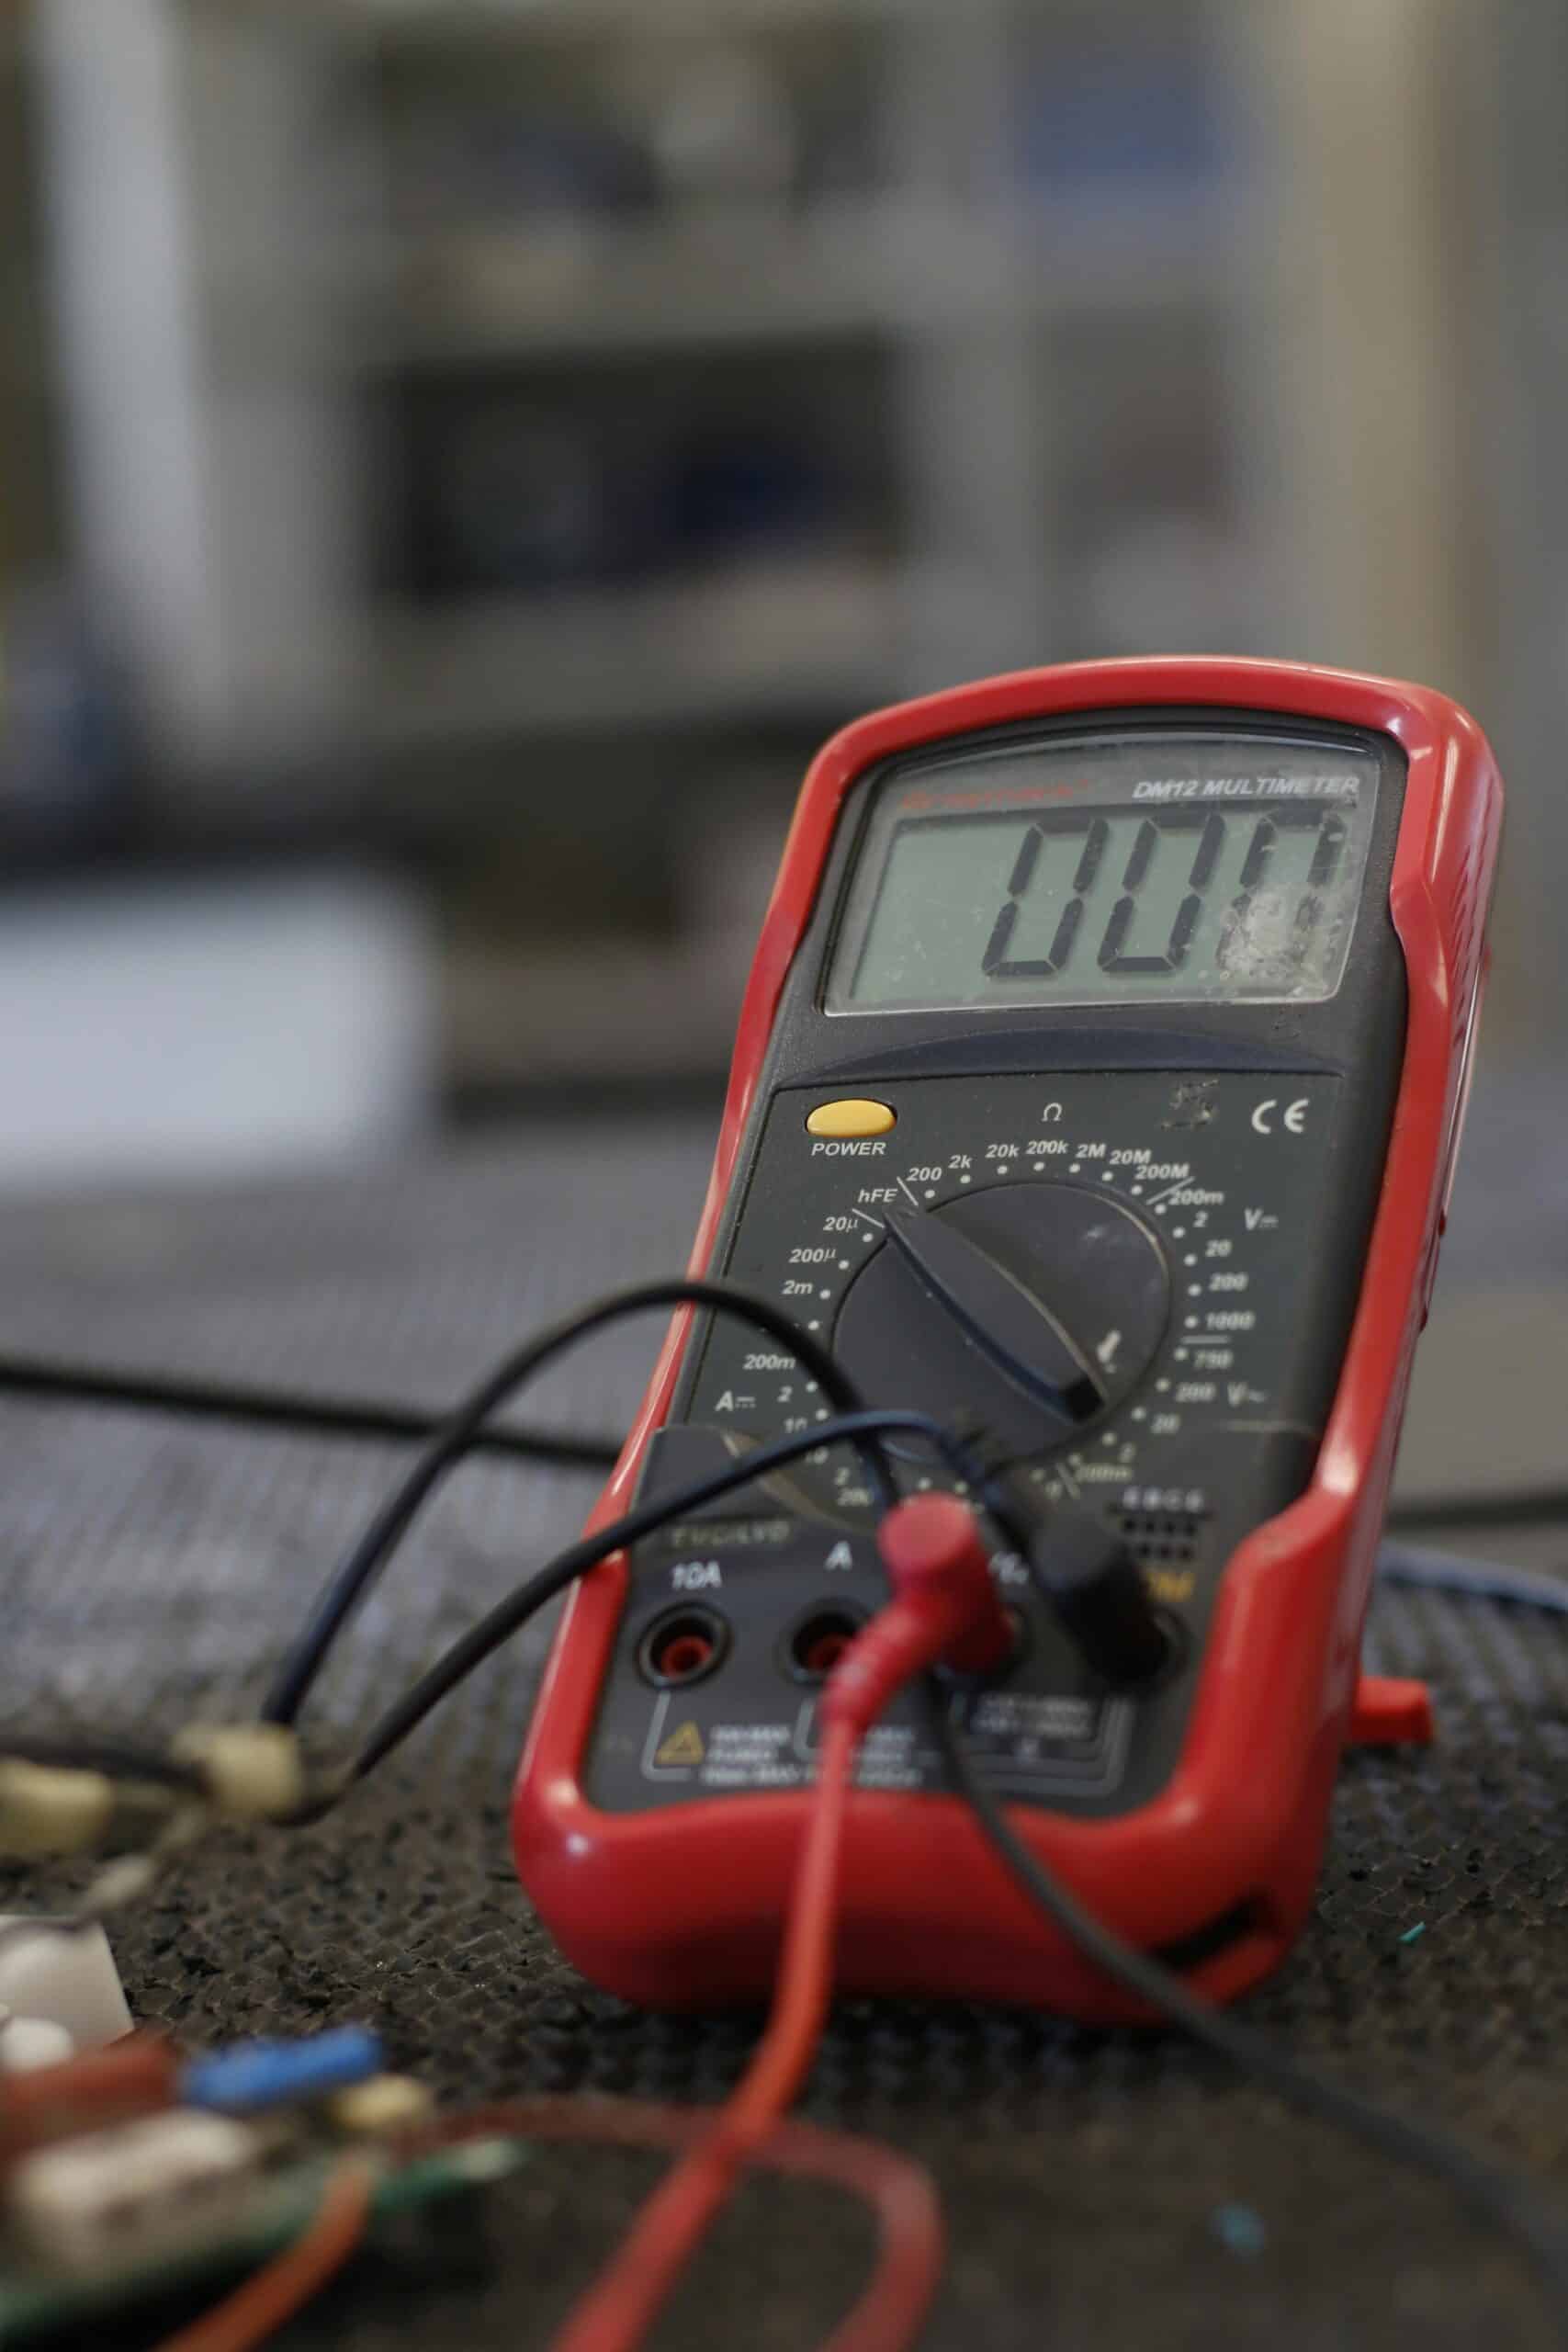
Visually inspect the fuse. Glass tube fuses reveal a broken or melted filament inside, while a blackened or cloudy appearance indicates a short circuit. Blade-style automotive fuses have a visible metal strip that will appear broken. For accuracy, use a multimeter set to continuity mode—touch the probes to both ends of the fuse. A reading of zero or a beep indicates the fuse is good, while no continuity confirms it has blown.
Step 4: Read the Fuse Markings
Every fuse displays critical specifications printed or stamped on its body or end caps. The most important details include:
- Amperage Rating (A): The maximum current the fuse can handle before blowing. This is the single most important number to match.
- Voltage Rating (V): The maximum voltage the fuse can safely interrupt. Always use a fuse rated at or above the original voltage.
- Fuse Type/Speed: Indicates how quickly the fuse responds to overcurrent.
Record these values precisely before purchasing a replacement.
Step 5: Identify the Fuse Type and Speed Rating
Fuses come in different response speeds, and using the wrong type can cause nuisance blowing or inadequate protection:
- Fast-Acting (F): Blows immediately when current exceeds the rating. Ideal for sensitive electronics.
- Slow-Blow / Time-Delay (T): Tolerates brief current surges, common in motors and devices with high startup loads.
- Medium-Acting (M): A balance between fast and slow response.
The speed is usually marked with a letter such as “F,” “T,” or “FF” (very fast). Matching the speed rating is just as important as matching the amperage.
Step 6: Match the Physical Size and Shape
Fuses are manufactured in standardized dimensions, and using the wrong size can prevent proper installation or create poor contact. Common formats include:
- Glass and ceramic tube fuses: Measured by length and diameter (e.g., 5mm x 20mm or 6.3mm x 32mm).
- Blade fuses: Common in automobiles, available in Mini, Standard (ATO/ATC), and Maxi sizes.
- Cartridge fuses: Used in industrial and high-amperage applications.
Measure the original fuse carefully or compare it directly to the replacement to ensure an exact physical match.
Step 7: Verify the Voltage Compatibility
A common mistake is focusing only on amperage while ignoring voltage. The voltage rating must equal or exceed the circuit’s operating voltage. For example, a fuse rated for 250V can safely be used in a 125V circuit, but never the reverse. Using a fuse with insufficient voltage rating can cause arcing when the fuse blows, defeating its protective purpose.
Step 8: Consider the Interrupting Capacity
For higher-power applications, check the fuse’s interrupting rating—also called breaking capacity. This indicates the maximum fault current the fuse can safely interrupt without rupturing or causing a hazard. Industrial and high-voltage systems require fuses with appropriate interrupting capacities, so always confirm this specification when replacing fuses in demanding environments.
Step 9: Choose the Correct Material
Fuse housings come in glass or ceramic. Glass fuses allow easy visual inspection but are better suited for low-energy circuits. Ceramic fuses withstand higher temperatures and offer superior interrupting capacity, making them ideal for high-power or high-voltage applications. When replacing, match the material type to maintain the intended safety performance.
Step 10: Purchase a Trusted, Compliant Fuse
Always buy fuses from reputable manufacturers and verify they meet recognized safety standards such as UL, CSA, or IEC certifications. Counterfeit or low-quality fuses may fail to perform under fault conditions. When in doubt, take the original fuse to a hardware or electronics retailer for an exact match.
Step 11: Install the New Fuse Properly
With power still disconnected, insert the new fuse firmly into the holder, ensuring solid contact at both ends. For blade fuses, push straight down until seated. For tube fuses, secure them in their clips. Avoid forcing a fuse that doesn’t fit, as this signals a size mismatch. Once installed, restore power and test the device.
Common Mistakes to Avoid
- Upgrading amperage to stop frequent blowing: This bypasses safety and risks fire.
- Ignoring voltage ratings: Leads to arcing and failure.
- Mismatching fuse speed: Causes nuisance trips or delayed protection.
- Using damaged fuse holders: Corroded or loose contacts generate heat.
When a Replacement Fuse Keeps Blowing
If your new fuse blows immediately or repeatedly, the problem lies within the circuit, not the fuse. This often indicates a short circuit, an overloaded line, or a failing component. Stop replacing fuses and investigate the underlying issue, or consult a qualified electrician or technician. Continuing to replace fuses without addressing the root cause can damage equipment and create serious safety risks.
Final Tips for Long-Term Reliability
Keep a small inventory of correctly rated spare fuses for your home, vehicle, and key electronics. Label fuse boxes clearly and document amperage values for quick reference. Periodically inspect fuse holders for corrosion or heat damage. By understanding each specification—amperage, voltage, speed, size, and interrupting capacity—you ensure every replacement fuse delivers reliable protection and keeps your electrical systems running safely.