Understanding Why Your Kettle Won’t Switch Off
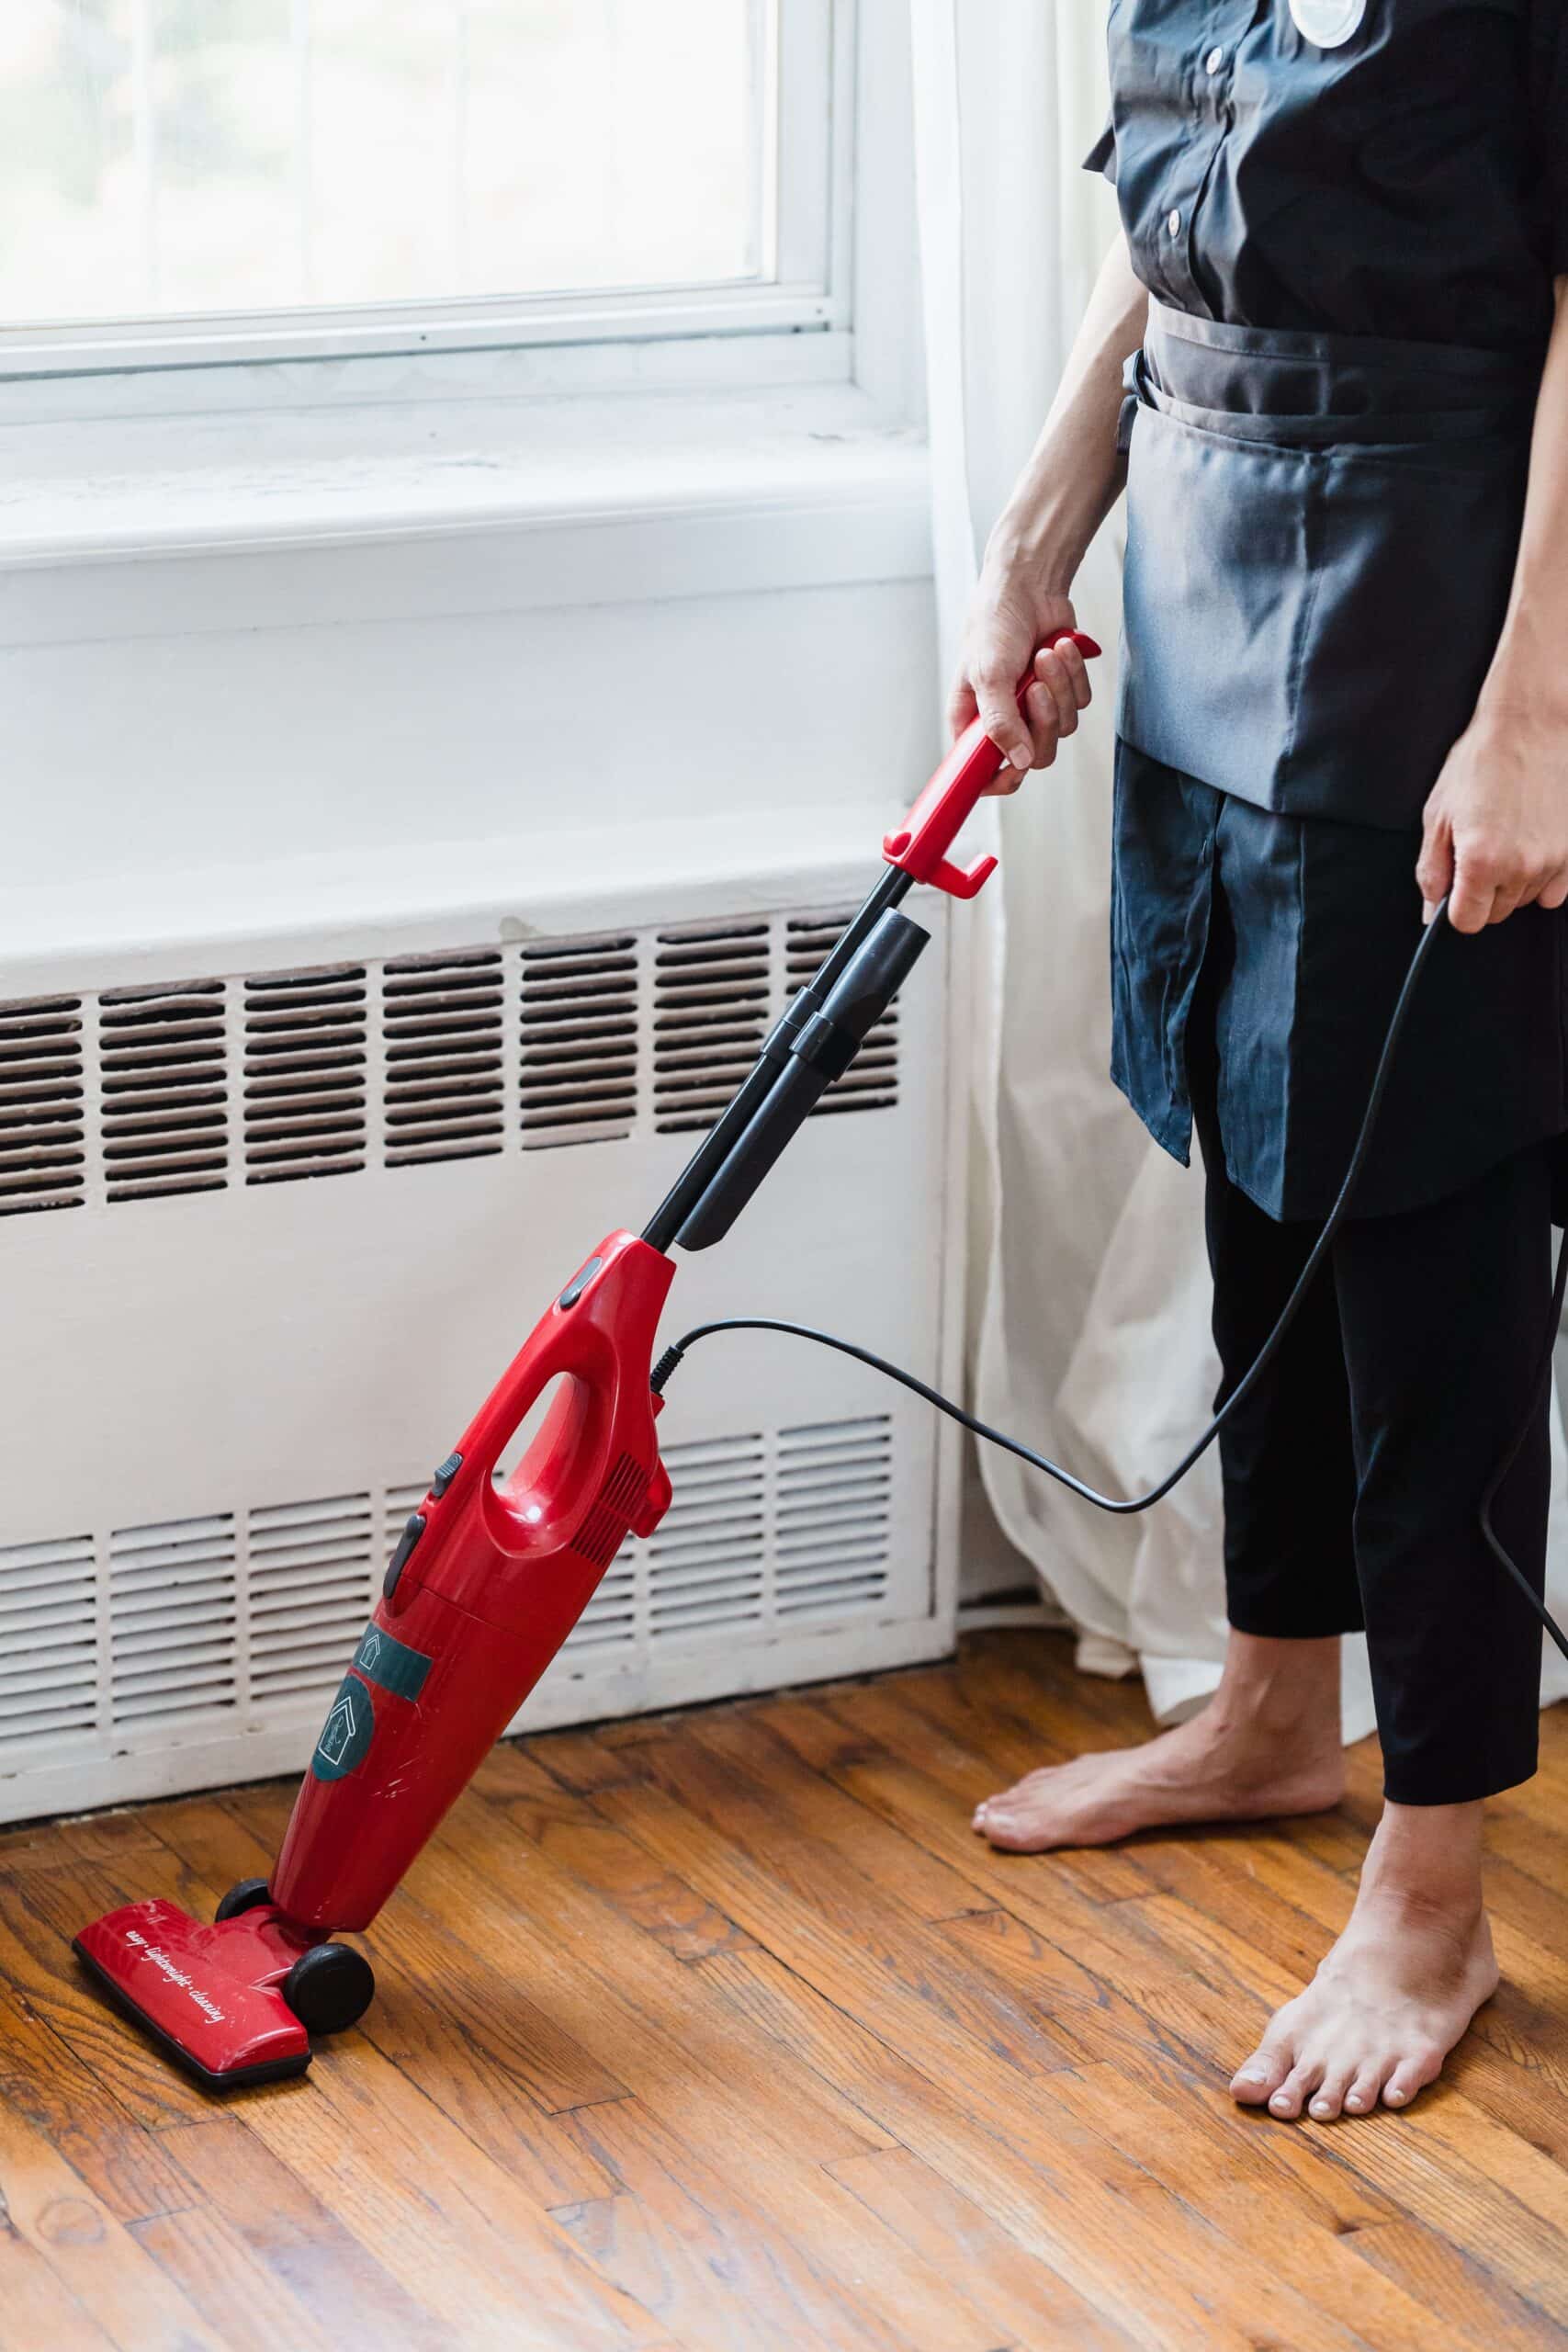
An electric kettle that refuses to turn off is more than an inconvenience—it’s a safety hazard that can lead to overheating, water boiling dry, and potential electrical fires. Most modern kettles rely on an automatic shut-off mechanism that detects steam or temperature changes. When this system fails, the kettle continues heating indefinitely.
The most common culprits include a faulty thermostat, a misaligned steam tube, a damaged switch, or limescale buildup interfering with the internal sensors. Identifying the root cause is the first step toward a successful repair.
Safety Precautions Before You Begin
Before attempting any repair, prioritize your safety. Working with electrical appliances carries risks, so follow these essential precautions:
- Unplug the kettle completely from the power outlet and allow it to cool fully.
- Empty all water from the kettle to prevent spills and electrical hazards.
- Work in a dry area with adequate lighting and ventilation.
- Use insulated tools designed for electrical work.
- Avoid repairs if the appliance is under warranty, as opening it may void coverage.
If you’re uncomfortable working with electrical components, consult a qualified technician instead.
Tools and Materials You’ll Need
Gather these items before starting your troubleshooting process:
- Phillips and flathead screwdrivers
- A multimeter for testing electrical continuity
- White vinegar or descaling solution
- A soft cloth and cotton swabs
- Replacement parts (thermostat, switch, or steam tube) if needed
- A small brush for cleaning
Step 1: Inspect the Steam Tube
The steam tube is one of the most frequent causes of a kettle that won’t shut off. This component channels steam toward the thermostat, signaling it to switch off when the water boils.
Open the kettle’s housing by removing the screws on the base or handle. Locate the steam tube, usually a thin plastic or metal channel running from the spout area to the base. Check for blockages, cracks, or disconnections. Limescale and mineral deposits often clog this passage, preventing steam from reaching the sensor.
Clean the tube thoroughly using a cotton swab dipped in vinegar. If the tube is cracked or warped, it will need replacement.
Step 2: Examine the Thermostat
The thermostat, often called a thermal cut-off or bimetallic strip, is the heart of the automatic shut-off system. When steam or heat reaches it, the bimetallic strip bends and trips the switch.
Locate the thermostat near the base of the kettle. Inspect it for visible damage, corrosion, or discoloration. Using your multimeter, test the thermostat for continuity. Set the multimeter to the continuity setting and place the probes on the thermostat’s terminals.
A functioning thermostat at room temperature should show continuity. If there’s no reading or the reading is erratic, the thermostat is faulty and must be replaced. Thermostats are inexpensive and widely available for most kettle models.
Step 3: Check the Switch Mechanism
The switch is what physically turns the kettle on and off. Over time, the spring mechanism can wear out, stick, or break, preventing the switch from releasing when the thermostat trips.
Examine the switch lever and its internal spring. Press it manually to feel for resistance or sticking. If the switch feels loose, jammed, or doesn’t return to position, it likely needs replacement.
Test the switch with your multimeter for continuity in both the “on” and “off” positions. A switch that maintains continuity in the off position is defective. Replacement switches can be ordered to match your kettle’s specifications.
Step 4: Remove Limescale Buildup
Limescale is a hidden enemy of electric kettles. Mineral deposits from hard water accumulate on the heating element and around sensors, disrupting heat transfer and the shut-off mechanism.
To descale your kettle:
- Fill it halfway with equal parts water and white vinegar.
- Bring the solution to a boil (if the kettle still functions), then let it sit for 20 minutes.
- Pour out the solution and scrub away loosened deposits.
- Rinse thoroughly with clean water several times to remove any vinegar residue.
For heavy buildup, repeat the process or use a commercial descaling agent. Regular descaling every one to three months prevents recurring problems.
Step 5: Inspect the Lid Seal and Spout
A poorly sealing lid allows steam to escape before reaching the steam tube, which means the thermostat never receives the signal to switch off. Examine the lid’s rubber gasket or seal for damage, warping, or improper fit.
Ensure the lid closes securely and aligns correctly with the spout. Replace damaged seals to restore proper steam direction. Also check that the spout isn’t obstructed, as airflow issues can affect the entire shut-off system.
Step 6: Test the Internal Wiring
Loose or damaged wiring can cause electrical malfunctions, including failure to shut off. Carefully inspect all internal connections between the switch, thermostat, and heating element.
Look for frayed wires, loose terminals, or burnt connections. Use your multimeter to verify continuity along each wire. Reconnect or replace any compromised wiring. Ensure all connections are tight and properly insulated before reassembly.
Step 7: Reassemble and Test the Kettle
Once you’ve identified and addressed the problem, carefully reassemble the kettle. Ensure all components are correctly positioned and screws are securely tightened. Double-check that no wires are pinched or exposed.
Fill the kettle with water to the recommended level, plug it in, and turn it on. Watch closely as it heats. A properly functioning kettle should automatically shut off within seconds of reaching a rolling boil. Monitor it through several cycles to confirm consistent performance.
When to Replace Instead of Repair
Sometimes repair isn’t cost-effective. Consider purchasing a new kettle if:
- The repair costs exceed half the price of a new unit.
- The heating element is damaged beyond repair.
- The kettle is more than five to seven years old.
- Multiple components have failed simultaneously.
Modern energy-efficient kettles often justify replacement, especially when safety is a concern.
Preventing Future Shut-Off Problems
Extend your kettle’s lifespan and maintain reliable performance with these maintenance habits:
- Descale regularly to prevent mineral buildup, especially in hard water areas.
- Use filtered water to reduce limescale accumulation.
- Avoid overfilling beyond the maximum line.
- Keep the lid closed properly during use.
- Empty the kettle after each use rather than leaving standing water.
- Clean the exterior and base to prevent dust accumulation around electrical contacts.
Common Mistakes to Avoid
When repairing your kettle, steer clear of these errors:
- Attempting repairs while the kettle is still plugged in or hot.
- Forcing components that don’t fit during reassembly.
- Using abrasive cleaners that damage the heating element.
- Ignoring small cracks in the steam tube or seals.
- Substituting incompatible replacement parts.
Taking your time and following each step methodically ensures both a successful repair and your personal safety. With patience and the right approach, most kettle shut-off problems can be resolved at home, saving you money and reducing waste.