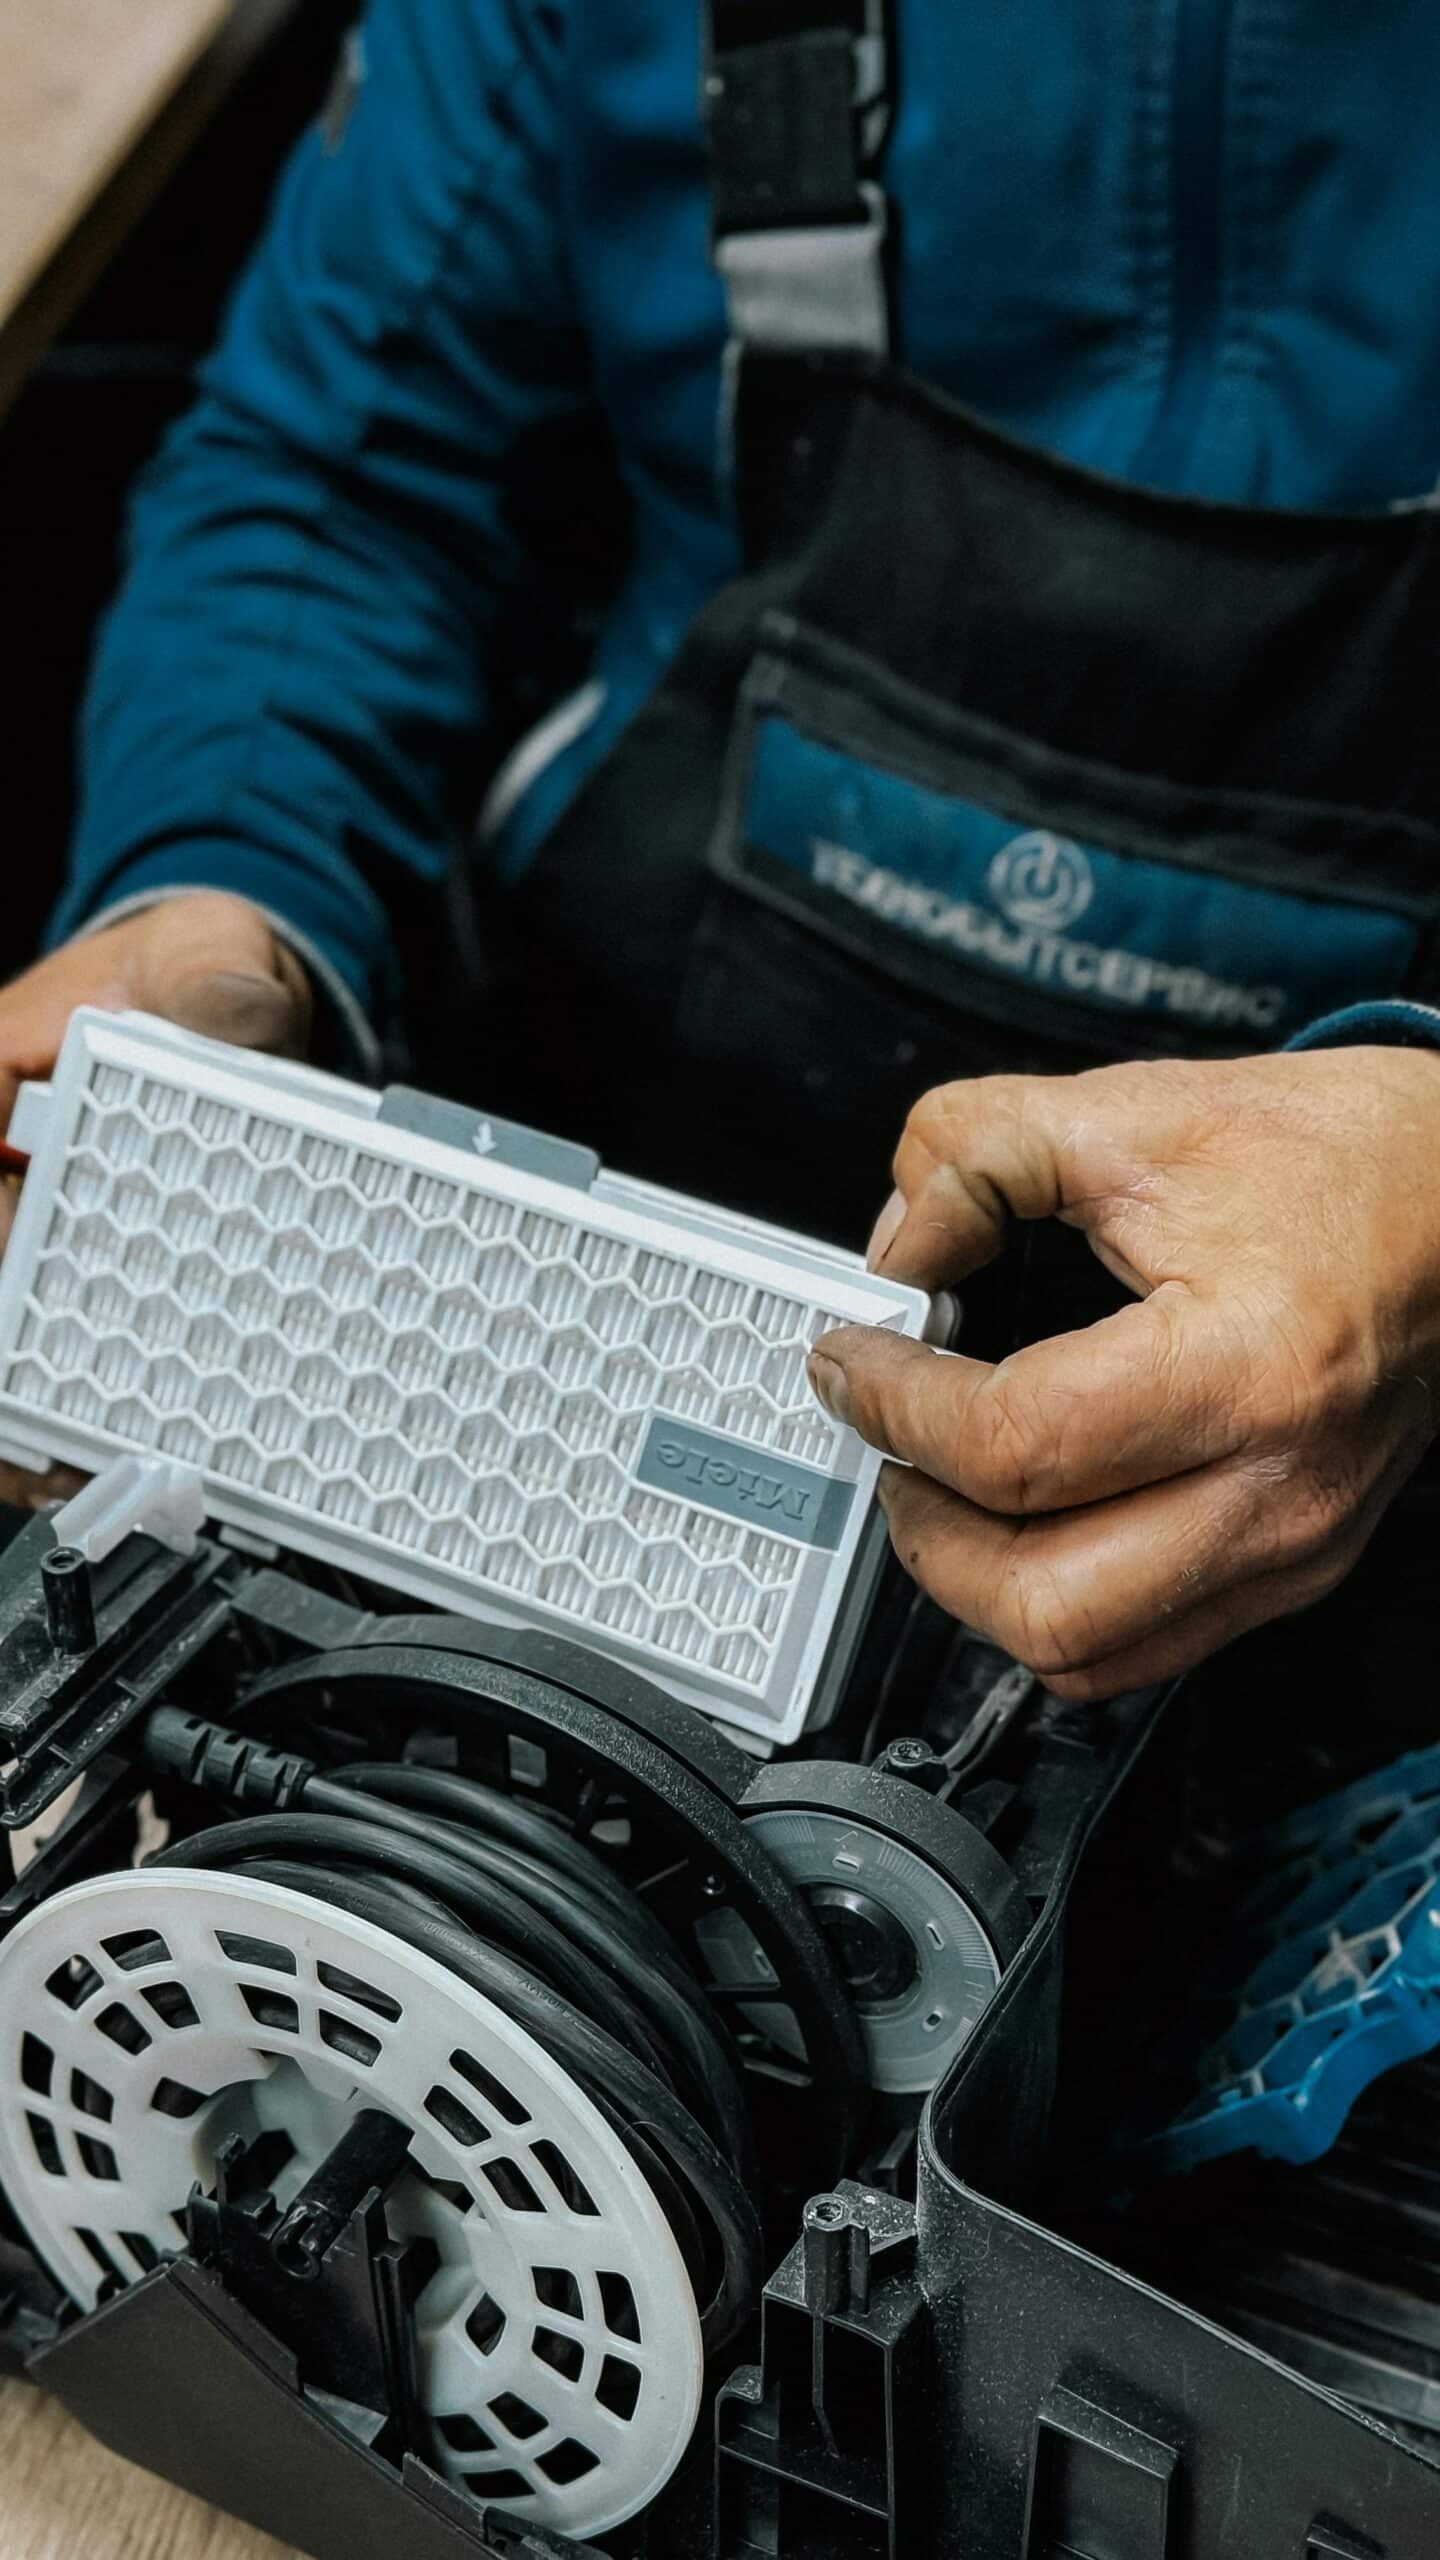
Why Soldering Skills Matter for Appliance Repair
Learning to solder opens the door to repairing countless small appliances that would otherwise end up in landfills. From coffee makers and toasters to hair dryers and electric kettles, many common failures stem from broken solder joints, loose wires, or damaged components on circuit boards. With the right tools and a little practice, you can save money, reduce electronic waste, and gain a valuable hands-on skill. Before tackling any repair, however, you need a properly equipped workspace stocked with the essential tools designed for precision and safety.
The Soldering Iron: Your Primary Tool
The soldering iron is the cornerstone of every repair kit. For small appliance work, a model rated between 30 and 60 watts offers the ideal balance of heat output and control. Lower-wattage irons may struggle to heat larger connections, while excessively powerful units risk damaging delicate components.
Beginners should prioritize a temperature-controlled soldering station over a basic plug-in iron. These stations allow you to adjust heat precisely, typically ranging from 200°C to 450°C, ensuring you apply the right temperature for different materials. Adjustable temperature prevents overheating sensitive electronics and produces cleaner, more reliable joints.
Look for an iron with interchangeable tips. A fine, pointed tip works well for detailed circuit board repairs, while a chisel or flat tip is better suited for larger wires and connections. Quality tips made from iron-plated copper last longer and transfer heat more efficiently.
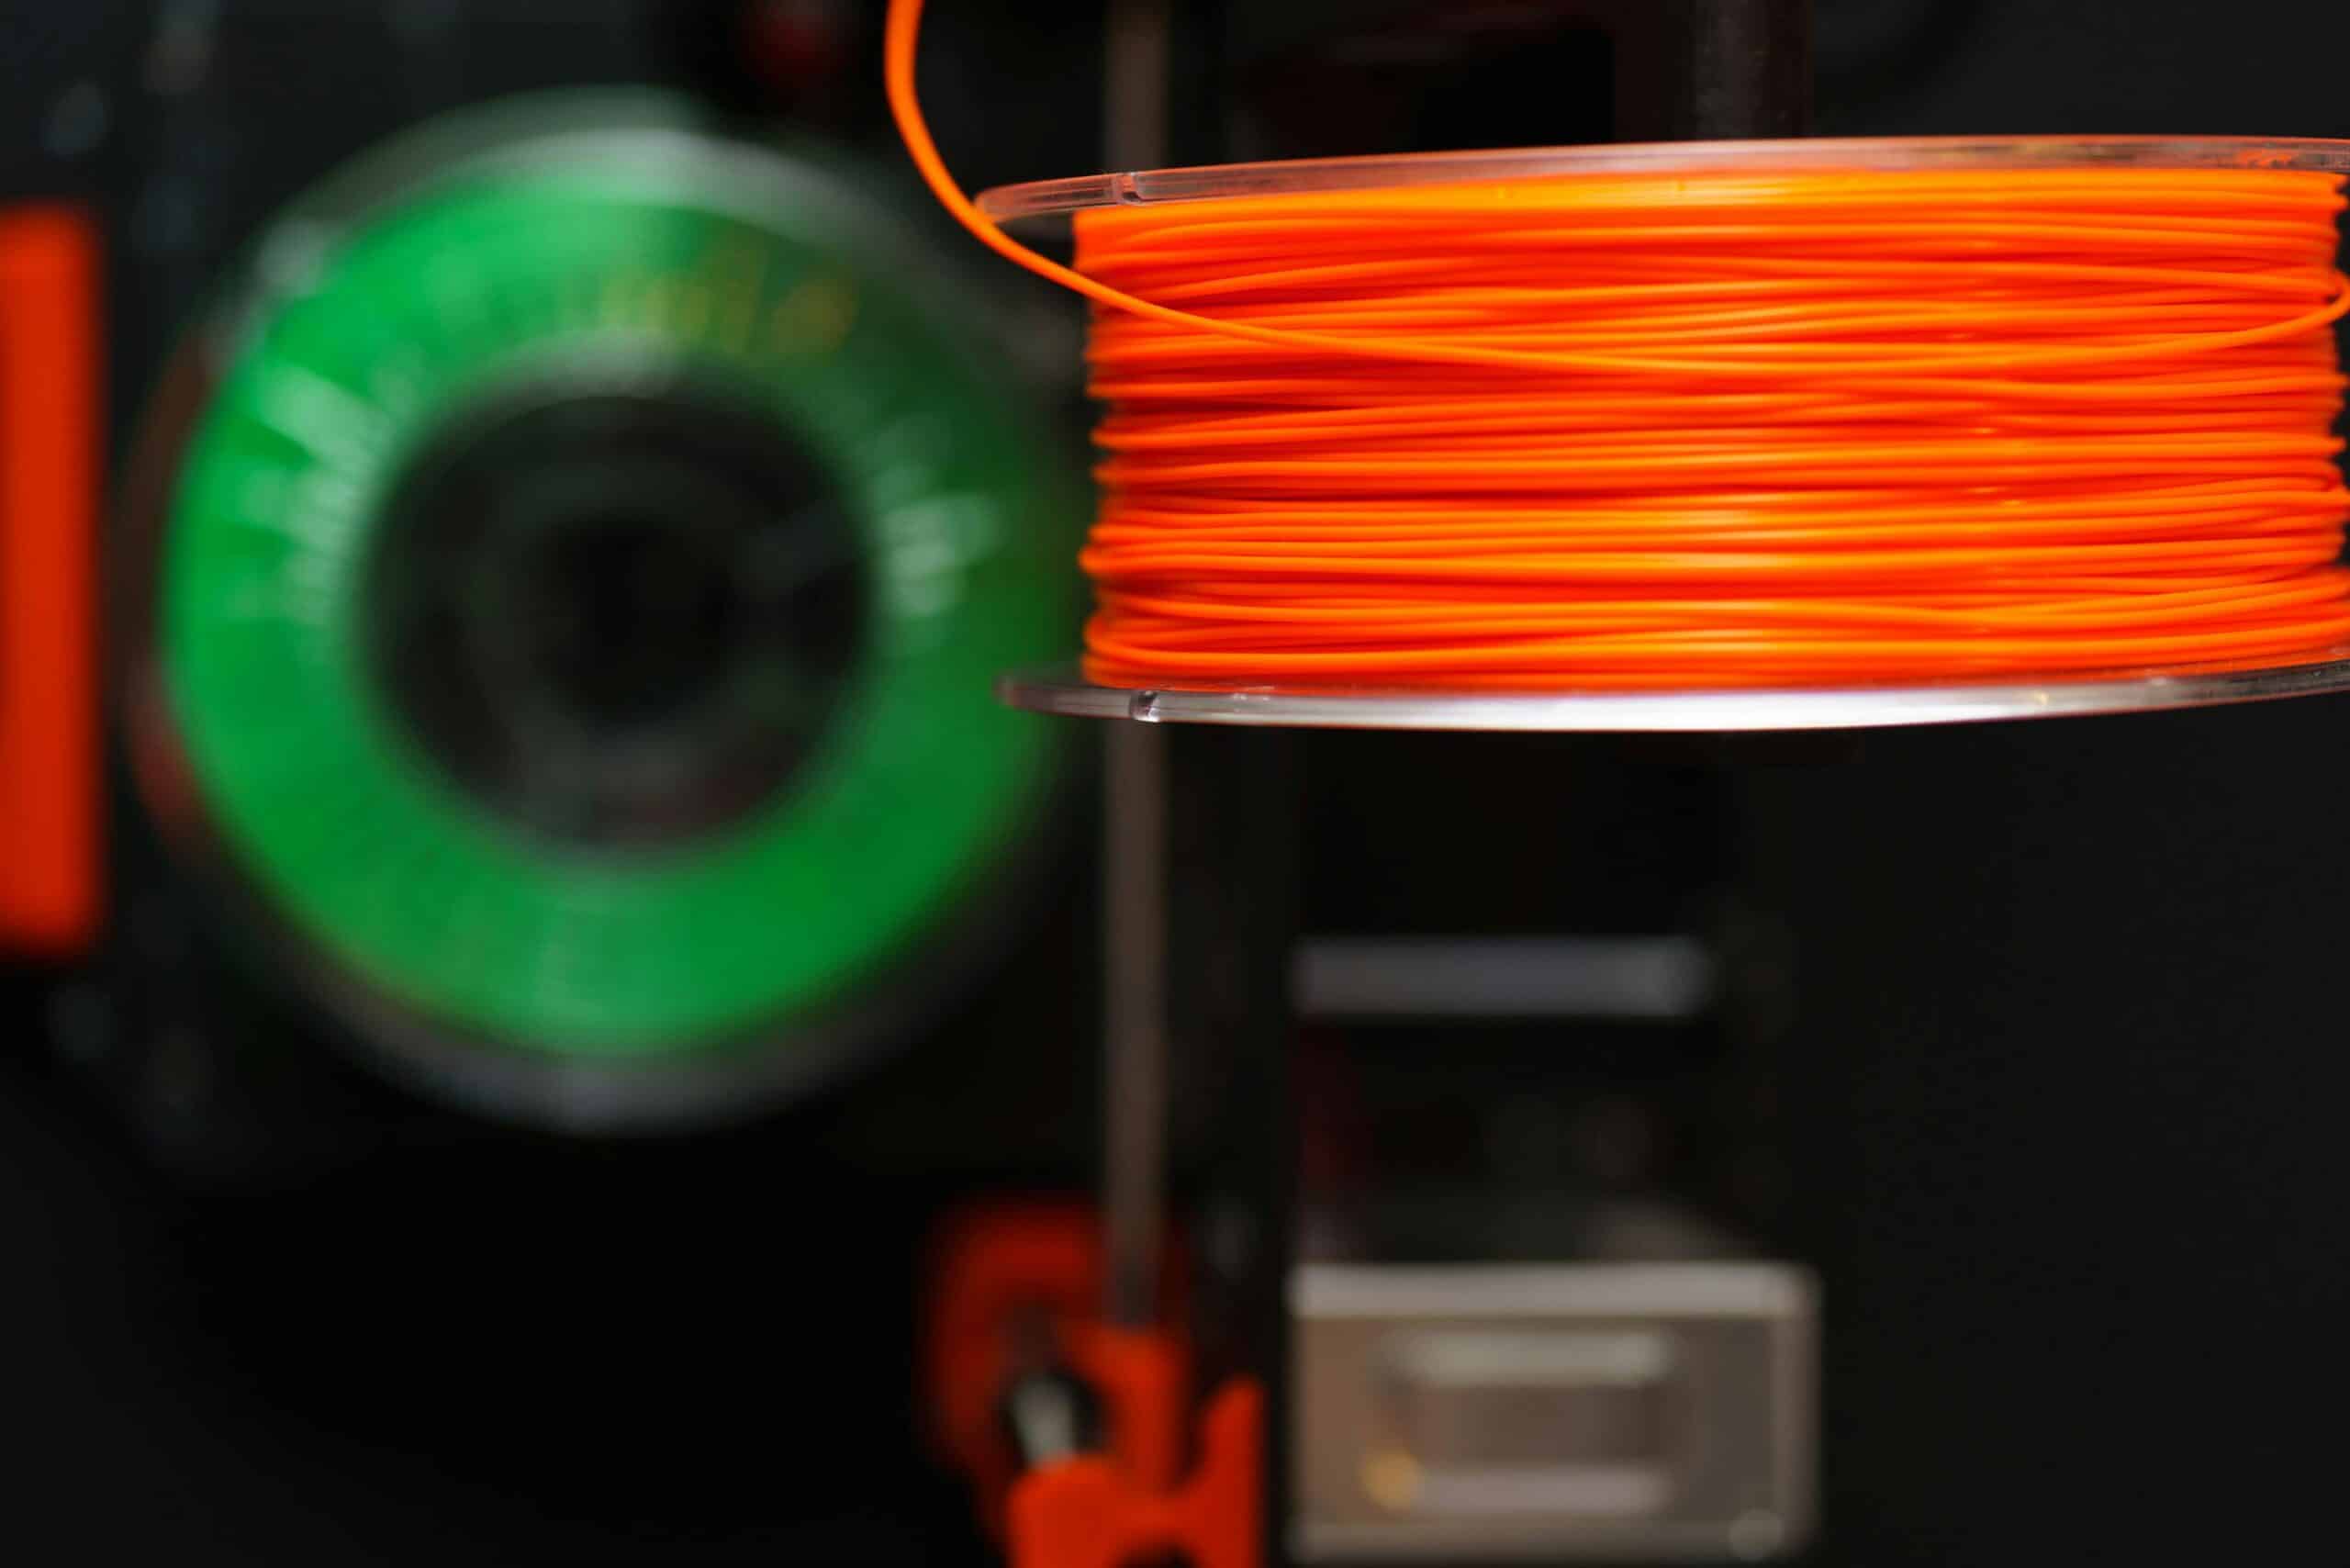
Solder: Choosing the Right Type
Solder is the metal alloy that forms the electrical connection between components. The two main categories are leaded and lead-free solder. Leaded solder (typically 60/40 tin-lead) melts at lower temperatures and flows smoothly, making it easier for beginners to work with. However, lead-free solder is increasingly popular due to health and environmental regulations.
For appliance repair, choose rosin-core solder, which contains a built-in flux that cleans metal surfaces and promotes better adhesion. A diameter of 0.6mm to 0.8mm provides versatility for most small-appliance applications, offering enough control without wasting material on tiny joints.
Soldering Iron Stand and Tip Cleaner
A sturdy soldering iron stand is a non-negotiable safety item. A hot iron left on your workbench poses a serious burn and fire hazard. Quality stands feature a heavy base for stability and a spring holder that securely cradles the iron between uses.
Many stands include a built-in cleaning station. Brass wire cleaners are gentler on tips than traditional damp sponges because they don’t cause thermal shock from sudden temperature drops. Keeping your tip clean and “tinned” with a thin layer of solder dramatically extends its lifespan and improves heat transfer.
Flux for Stronger Joints
While rosin-core solder includes flux, having a separate flux pen or flux paste is invaluable for challenging repairs. Flux removes oxidation from metal surfaces, allowing solder to flow and bond properly. When you encounter corroded contacts or stubborn joints common in older appliances, applying additional flux makes the difference between a frustrating struggle and a clean, professional result.
Desoldering Tools
Repairs frequently require removing old solder before installing new components. Two essential desoldering tools belong in every kit:
A desoldering pump (solder sucker) uses spring-loaded suction to vacuum molten solder away from joints. Simply heat the joint, position the pump, and release the plunger to draw the solder up.
Desoldering braid (solder wick) is a copper mesh that absorbs molten solder through capillary action. Press the braid against the heated joint, and it wicks away excess solder. Together, these tools let you cleanly remove components without damaging circuit boards.
Helping Hands and Work Holders
Soldering requires both hands, leaving no way to hold the workpiece steady. A “helping hands” tool—typically featuring adjustable alligator clips on a weighted base—holds wires, boards, and components in place while you work. Many modern versions include magnifying glasses and built-in LED lighting, which prove especially helpful for examining tiny solder joints and components.
For larger appliance housings, a PCB holder or bench vise offers additional stability, securely gripping circuit boards at convenient angles.
Wire Strippers and Cutters
Appliance repair often involves working with wires that need trimming, stripping, and reconnecting. A quality pair of wire strippers removes insulation cleanly without nicking the conductor, while flush cutters snip component leads close to the board for neat results. Investing in precision tools here prevents accidental damage to wires and improves connection reliability.
Multimeter for Diagnostics
Before you solder anything, you need to diagnose the actual problem. A digital multimeter measures voltage, current, resistance, and continuity, helping you identify faulty components, broken connections, and blown fuses. The continuity function is particularly useful for verifying that your solder joints conduct electricity properly after a repair. No serious appliance repair kit is complete without one.
Safety Equipment You Shouldn’t Skip
Soldering produces fumes and involves working with high temperatures, making safety gear essential.
Safety glasses protect your eyes from solder splatter and flying clipped leads. A fume extractor or small fan with a carbon filter pulls solder fumes away from your face, preventing inhalation of potentially harmful vapors. Working in a well-ventilated area is equally important, especially when using leaded solder or flux.
Consider keeping heat-resistant gloves and a silicone soldering mat on your bench. The mat protects your work surface from heat damage and often includes compartments for organizing screws and small parts during disassembly.
Heat Shrink Tubing and Electrical Tape
After reconnecting wires, you must insulate the exposed connections. Heat shrink tubing provides a professional, durable seal—slip it over the joint and apply heat to shrink it tightly into place. For quick fixes, quality electrical tape serves as a reliable backup. Having an assortment of tubing diameters ensures you’re prepared for various wire gauges.
Cleaning Supplies
Clean connections lead to better repairs. Isopropyl alcohol (90% or higher) removes flux residue, dirt, and grease from circuit boards and components. Apply it with cotton swabs or a small brush to leave joints looking clean and to prevent corrosion over time. Residual flux can become conductive or corrosive, so this final cleaning step protects your repair’s longevity.
Setting Up Your Workspace
Organize your tools on a stable, well-lit bench away from flammable materials. Good lighting reduces eye strain and helps you spot cold joints or bridges between connections. Keep your tools within easy reach and maintain a clutter-free surface to work efficiently and safely.
Tips for Beginners
Start by practicing on scrap circuit boards or old appliances before attempting valuable repairs. Learn to recognize a good solder joint: it should appear shiny, smooth, and cone-shaped. Dull, cracked, or blobby joints—known as “cold joints”—indicate poor connections that need reworking.
Always unplug appliances and discharge capacitors before working on them, as stored electrical energy can deliver dangerous shocks. Take your time, apply heat to the joint rather than the solder directly, and remove the iron promptly once the solder flows.
With this complete toolkit and a patient approach, you’ll be well-equipped to tackle a wide range of small appliance repairs, extending the life of your devices and developing a rewarding, practical skill that pays dividends for years to come.