Understanding Why Your Slow Cooker Stops Heating
A slow cooker that won’t heat is one of the most common kitchen appliance frustrations. Before you toss your trusty crock pot in the trash, understand that most heating problems stem from a handful of identifiable causes. These include faulty power connections, damaged heating elements, broken temperature controls, internal wiring issues, or simple user errors. The good news is that many of these problems can be diagnosed and repaired at home with basic tools and a little patience.
Slow cookers work by passing electrical current through a heating element wrapped around the ceramic insert chamber. When this element fails or loses power, your appliance won’t reach the temperatures needed to cook food safely. Identifying the root cause is the key to a successful repair.
Safety First: Essential Precautions
Before troubleshooting any electrical appliance, prioritize your safety.
- Unplug the unit completely before inspecting or disassembling it.
- Allow it to cool if it was recently in use to avoid burns.
- Work in a dry environment to prevent electrical shock.
- Use insulated tools when testing electrical components.
- Avoid contact with water while working on internal parts.
If you’re uncomfortable handling electrical components, consider consulting a professional repair technician.
Step 1: Check the Power Source
The simplest explanation is often the correct one. Begin by confirming your slow cooker is receiving power.
- Verify the appliance is plugged in securely.
- Test the wall outlet by plugging in another device, such as a lamp or phone charger.
- Check your home’s circuit breaker for any tripped switches.
- Inspect the power cord for visible damage, fraying, or burn marks.
A loose plug or dead outlet is frequently mistaken for a broken appliance. If the outlet works fine but your slow cooker stays cold, move on to the next step.
Step 2: Examine the Power Cord and Plug
Power cords endure significant wear over time, especially at the connection points. A damaged cord can interrupt the flow of electricity.
- Run your fingers along the entire length of the cord, feeling for kinks, cuts, or exposed wires.
- Wiggle the plug while it’s connected to a working outlet to see if the unit flickers on intermittently.
- Examine the prongs for corrosion or bending.
If you have a multimeter, set it to continuity mode and test the cord. A reading near zero ohms indicates the cord is intact. No continuity means the cord needs replacement.
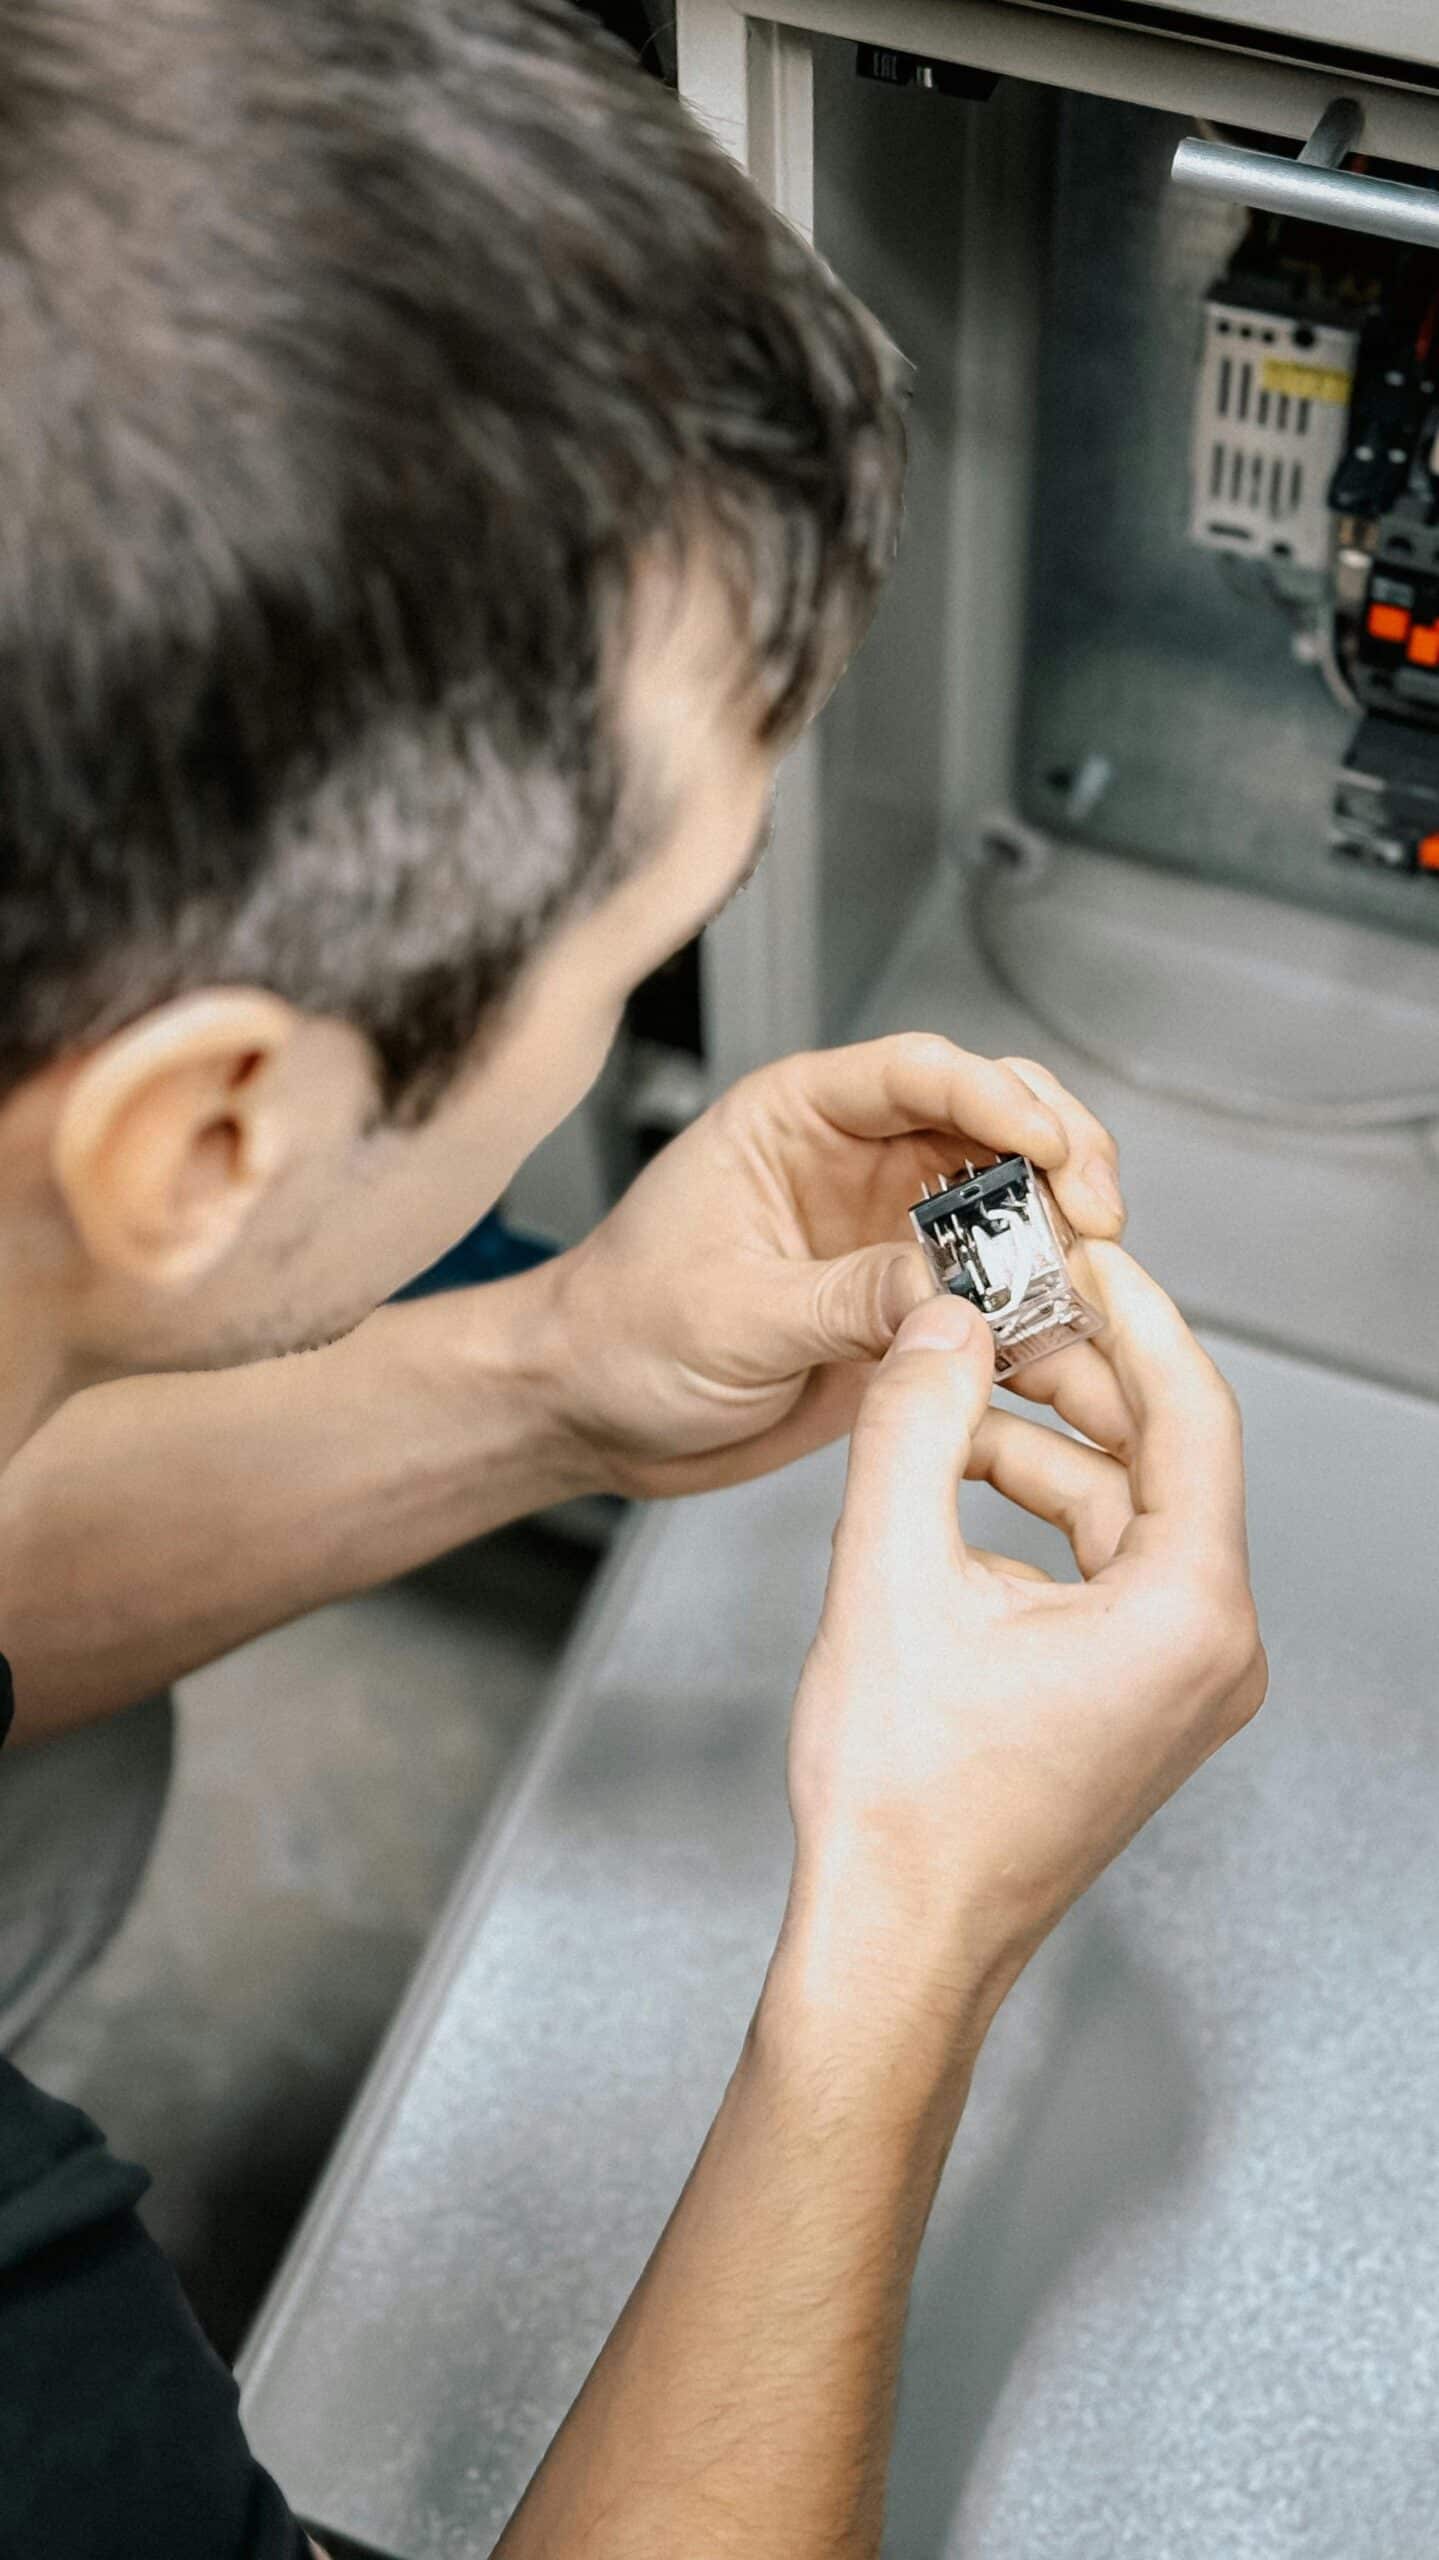
Step 3: Test the Heating Element
The heating element is the heart of your slow cooker. When it fails, the appliance simply won’t warm up.
- Unplug the unit and turn it upside down to access the base.
- Remove the screws securing the bottom panel.
- Locate the heating element, typically a coiled wire wrapped around the cooking chamber.
- Inspect it for breaks, burns, or discoloration.
- Use a multimeter to test for continuity across the element’s terminals.
A functioning heating element will show resistance, usually between 10 and 50 ohms depending on the model. An infinite reading confirms a broken element. Replacement elements are sometimes available, but on inexpensive models, replacement may cost more than a new appliance.
Step 4: Inspect the Temperature Control Switch
The control switch regulates heat settings between low, high, and warm. A malfunctioning switch can prevent the heating element from activating.
- Locate the switch assembly inside the base housing.
- Check for loose or corroded wire connections.
- Test the switch with a multimeter at each setting.
- Listen for a clicking sound when adjusting settings, which indicates the switch is engaging.
If the switch fails to show continuity in any position, it likely needs replacing. Replacement switches are widely available and relatively inexpensive for most popular brands.
Step 5: Check Internal Wiring Connections
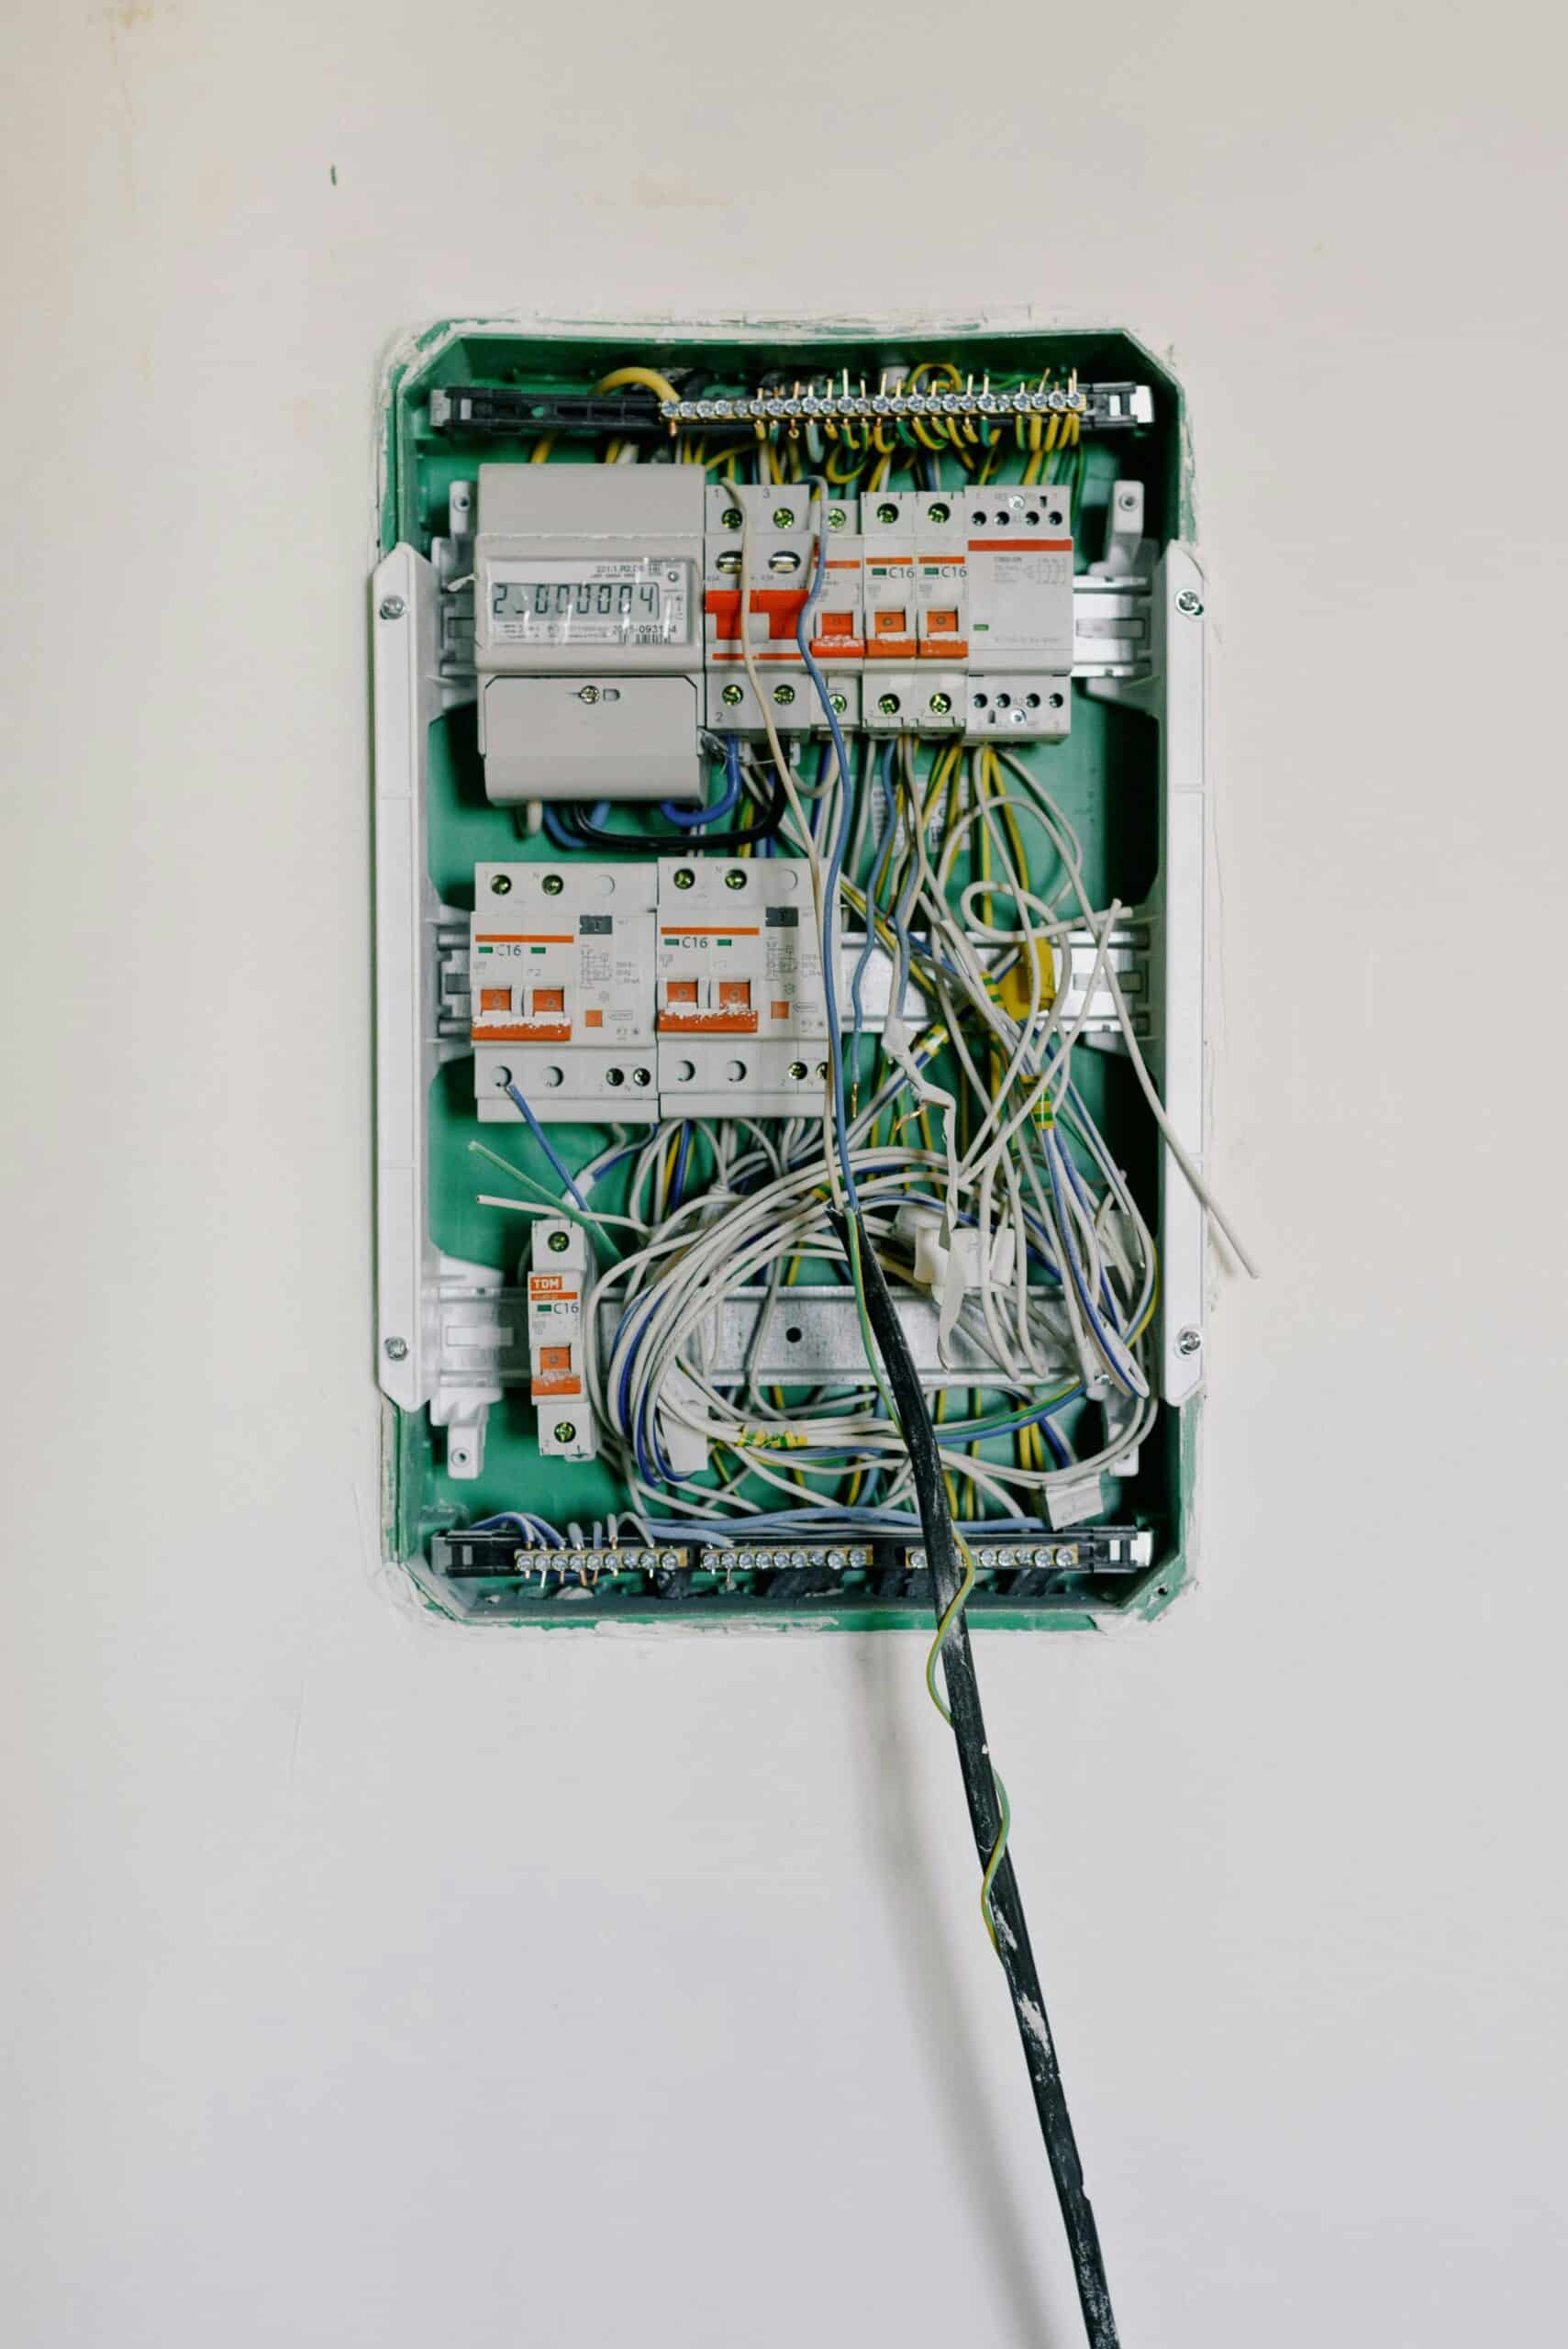
Loose or damaged internal wiring is a common culprit in heating failures. Vibrations, heat cycles, and age can loosen connections over time.
- With the base open, examine all wire connections.
- Look for burnt wires, melted insulation, or disconnected terminals.
- Gently tug each wire to confirm it’s securely attached.
- Reconnect any loose wires and replace damaged ones.
Burnt wiring indicates a short circuit or overheating issue. Address these immediately, as they pose a fire hazard.
Step 6: Evaluate the Thermal Fuse
Many modern slow cookers include a thermal fuse that protects against overheating. When the fuse blows, the appliance loses power entirely.
- Locate the thermal fuse, usually near the heating element or control panel.
- Test it with a multimeter for continuity.
- A blown fuse shows no continuity and must be replaced.
Always replace thermal fuses with components matching the original specifications. Using an incorrect fuse can disable critical safety protections.
Common User Errors to Rule Out
Sometimes the appliance works perfectly, but the problem lies in how it’s being used.
- Incorrect setting selection: Ensure you’ve chosen “low” or “high” rather than leaving it on “off” or “warm.”
- Overfilling: An overloaded crock pot may struggle to reach temperature.
- Cold ingredients: Starting with frozen food significantly extends heating time.
- Lid placement: A poorly seated lid releases heat and slows cooking.
- Voltage issues: Using the appliance with an extension cord can reduce power delivery.
When to Replace Versus Repair
Knowing when to give up on a repair saves time and money. Consider replacing your slow cooker when:
- The repair cost exceeds 50% of a new unit’s price.
- The ceramic insert is cracked or damaged.
- Multiple components have failed simultaneously.
- The appliance is more than ten years old.
Modern slow cookers are affordable, energy-efficient, and often include programmable features that older models lack. Sometimes upgrading makes more sense than repairing.
Preventive Maintenance Tips
Extend your slow cooker’s lifespan and prevent future heating issues with regular maintenance.
- Clean thoroughly after each use, avoiding water near electrical components.
- Store properly in a dry location away from moisture.
- Inspect the cord periodically for early signs of wear.
- Avoid sudden temperature changes that can crack the ceramic insert.
- Don’t overload the appliance beyond its recommended capacity.
Tools You’ll Need for Troubleshooting
Having the right tools makes diagnosis faster and easier.
- A multimeter for testing electrical continuity
- A screwdriver set for opening the base panel
- Replacement parts such as fuses, switches, or cords
- Wire strippers for repairs
- A clean workspace with good lighting
Final Diagnostic Checklist
Work through these questions systematically to pinpoint the issue:
- Is the outlet delivering power?
- Is the power cord intact and undamaged?
- Does the heating element show proper resistance?
- Is the temperature control switch functioning?
- Are all internal wires securely connected?
- Has the thermal fuse blown?
By methodically checking each component, you’ll identify exactly why your slow cooker won’t heat. Most repairs require only basic skills and minimal expense, allowing you to restore your appliance and get back to preparing delicious, slow-cooked meals. Whether the fix involves a simple cord replacement or a new heating element, this step-by-step approach empowers you to troubleshoot with confidence and avoid unnecessary appliance purchases.